Finishing your basement yourself is an attractive option for many U.S. homeowners looking to expand livable space without the high price of a general contractor. But how much does a DIY basement project actually cost? In this guide, we’ll break down the average cost to finish a basement DIY, what factors influence your final cost, and tips to stay on budget. We’ll use national averages (no regional pricing) and focus on realistic, homeowner-friendly advice. By the end, you’ll understand the cost ranges for a DIY basement finish and be better equipped to create the basement of your dreams without breaking the bank.
Pro Tip: If you’re looking for a step-by-step tutorial on the process of finishing a basement (framing, wiring, etc.), check out our detailed guide DIY Basement Finishing: Step-by-Step Guide for Homeowners – it covers everything from planning to drywall. In this article, however, we’ll focus specifically on costs and budgeting for a DIY basement finish.
How Much Does It Actually Cost to Finish a Basement DIY?
When it comes to dollars and cents, square footage is one of the biggest factors. Let’s start with the national average: for a 1,000 square-foot unfinished basement, finishing it yourself typically runs around $15,000–$25,000 in total cost (about $15–$25 per square foot). Some DIY basement projects come in lower – as little as ~$7,000–$10,000 for a basic job on a smaller space – while more elaborate finishes in larger spaces can climb to $30,000 or more. By comparison, hiring a professional contractor to handle everything could easily cost 40–60% more (often $50,000+ for the same space) because labor costs make up a huge chunk of the price, per This Old House. By doing the work yourself, you eliminate most labor expenses, which can save you tens of thousands on the final price.
Why such a wide range? The overall cost depends on various factors like the size of your basement, how fancy your design choices are, and what features you include. A simple open entertainment area with basic flooring and painted basement walls will cost far less than a fully finished guest suite with a new basement bathroom, wet bar, and divided rooms. In other words, your project scope can swing your overall project cost dramatically.
Key cost drivers for DIY basement finishing:
- Basement Size: More square feet means more materials (drywall, flooring, etc.), so larger spaces naturally have higher costs. The size of the basement is perhaps the most important factor in determining cost. For example, finishing a 500 sq. ft. area will cost roughly half as much as a 1,000 sq. ft. area, assuming similar finishes.
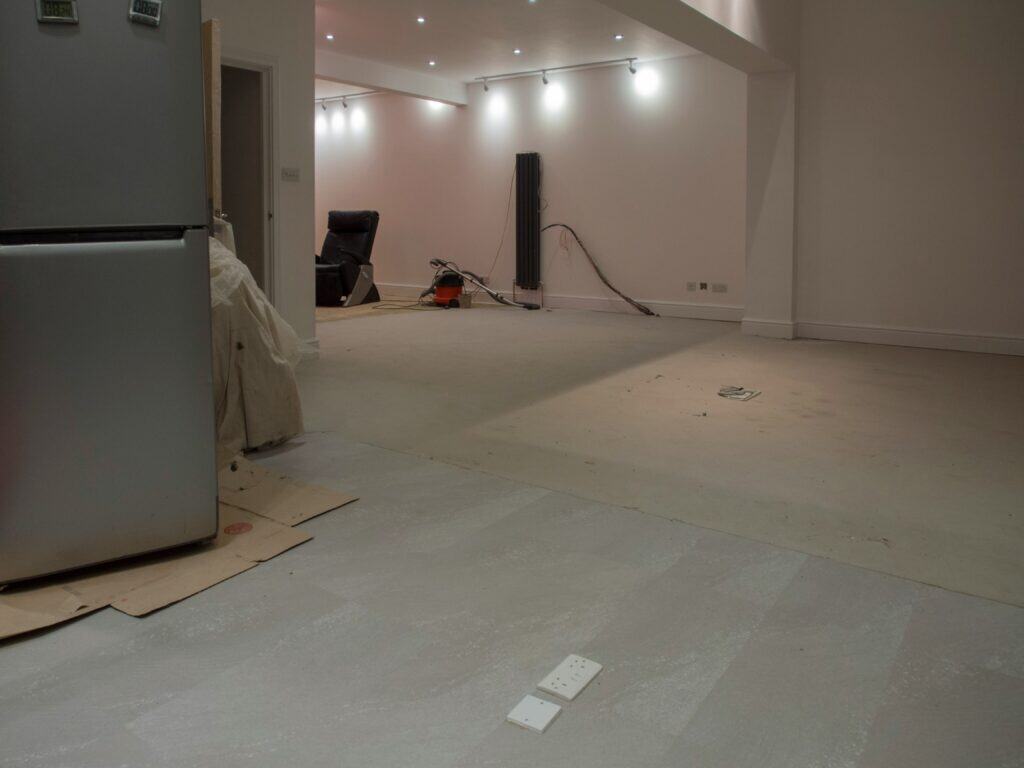
- Starting Condition (Unfinished vs. Partially Finished): If you’re starting from a completely unfinished basement (bare concrete walls and floors, exposed joists), you’ll need to do much work – framing, insulation, drywall, flooring, etc. A half-finished basement or partially finished basement (perhaps the previous owner already framed walls or roughed in plumbing) will cost less to complete since some work is done. In short, a fully finished basement costs the most (obviously), while a half-finished basement might just require you to pick up where things left off, reducing additional expenses.
- Features and Rooms to Add: What you include in your basement will greatly affect the final cost. Adding functional living space like bedrooms, bathrooms, or specialty rooms increases costs. For instance: adding a basement bathroom is often the most expensive part of a basement finish due to the plumbing work – expect to spend $3,000–$10,000 or more just for a basic bathroom setup (toilet, sink, shower). Installing a wet bar or second kitchen can run another $5,000–$10,000 easily (cabinets, sink, plumbing, fixtures). On the other hand, leaving the space as one open entertainment area or game room with no extra plumbing is much cheaper. Each additional room (e.g. a home office, home theater, home gym, or extra bedroom) will require more framing, possibly extra wiring and HVAC, which all add additional cost. If you plan to create a guest suite (bedroom + bath), budget accordingly – it will substantially raise your total project cost compared to an open-plan rec room design.
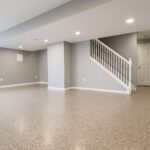
- Quality of Materials and Design Choices: Your material quality and finishes have a big impact. You can finish a floor with budget vinyl planks or ceramic tiles, or you can opt for premium hardwood floors – the price difference is huge. For example, basic vinyl flooring might cost $3–$5 per sq. ft., whereas hardwood flooring could be $10–$15 per sq. ft. (and hardwood flooring in a basement isn’t always advisable due to moisture). In fact, hardwood floors can cost up to $28 per sq. ft. on the high end, so most people choose more moisture-friendly flooring for basements. Similarly, you could paint the walls yourself for a few hundred dollars or spend several thousand on high-end wall paneling or stone veneer. Design choices like custom built-ins, high-end light fixtures, or specialized soundproofing for a home theater will all lead to higher costs. If you’re on a tight budget, stick with simple, cost-effective finishes (e.g. luxury vinyl plank flooring, drop ceilings or painted exposed ceilings instead of costly drywall coffered ceilings, ready-to-paint drywall instead of elaborate wall treatments, etc.).
- DIY vs. Professional Help: Are you truly doing everything DIY, or will you hire out certain tasks? Even the most hardcore DIYers often bring in licensed electricians or plumbers for certain parts of the job. If you need to hire trades for parts of the project, those labor costs will increase your overall cost (though usually not as much as hiring a general contractor for the entire job). For example, if you’re uncomfortable doing the electrical work, you might hire an electrician for a day or two – that could be a few hundred to a couple thousand dollars extra. Similarly, hiring a plumber to install a bathroom or a sump pump will add to your budget. We’ll discuss permitting and when professional expertise is needed in a moment. The good news is, even if you contract out some tasks, you’re still saving significantly by doing the bulk of the work yourself.
- Building Codes & Requirements: Finishing a basement isn’t just slapping up drywall – you must meet local building codes for it to be safe and legal livable space. This means you may need to spend on things like an egress window, sufficient ceiling height, and other code requirements. For instance, if you add a bedroom, most codes require an egress window (a window large enough for escape) or exterior door. Installing a compliant egress window might cost around $3,000–$5,000 including cutting the concrete wall and adding a window well. You’ll also need to budget for building permits and inspections – typically $500–$2,000 total in permit fees for a basement finishing project (this varies by city, but the national average is around $1,200–$2,000 for permits). Don’t skip permits; it’s illegal and can cause issues when selling your home. Also, unpermitted electrical or structural changes can be dangerous. Plan for permit fees as part of the cost of materials and services required.
- Existing Issues (Moisture, Damage, Structural): Unforeseen problems can eat into your budget. Does your basement have any moisture issues or water damage currently? You must address those before finishing – as the University of Minnesota Extension warns, “Finishing a basement without first dealing with the moisture problems can result in making health conditions worse and lead to significant damage as well.” This means you might need to invest in waterproofing (like fixing cracks, interior sealants, French drains or a sump pump). Waterproofing costs can range from a few hundred dollars for DIY fixes (e.g. sealing small cracks) to several thousand if you need interior drains or exterior foundation work. On average, professional basement waterproofing is about $2,000–$6,500, but doing it yourself could be cheaper if it’s minor (just be sure you do it right!). Also consider radon mitigation if needed, and check for mold. Additionally, if your home is older, watch out for surprises like cracks in the foundation or old electrical wiring that isn’t up to code – fixing those unique needs could add additional cost. Always leave a budget buffer (10–15% of the total project cost) for surprises behind the walls. It’s a good idea to have a contingency fund so that unexpected repairs (like fixing a structural post or removing mold) don’t derail your project.
As you can see, different factors can cause your final price to vary widely. Next, we’ll provide a breakdown of typical cost ranges for each major aspect of a DIY basement finish. This will help you see where your money actually goes (materials vs. permits vs. specific trades).
DIY Basement Finishing Cost Breakdown (By Category)
Every basement project is a bit different, but most involve the same basic components: framing, insulation, drywall, flooring, ceiling, paint, plus the major systems (electrical, plumbing, HVAC as needed). Below is a breakdown of typical cost ranges for a medium-sized DIY basement project (assume roughly 1,000 sq. ft. to finish). These estimates include materials and any professional help you might need to pay for in that category. Your actual cost may be lower if you find deals or higher if you choose luxury finishes, but these ranges give a ballpark of what to expect:
| Project Component | Typical DIY Cost Range |
|---|---|
| Waterproofing & Prep (sealing cracks, moisture control) | ~$500 – $5,000 (varies widely by issues) |
| Sump Pump (if needed for drainage) | $600 – $2,500 installed |
| Framing & Carpentry (stud walls, framing doors) | $700 – $2,000 (wood & fasteners) |
| Insulation (walls & rim joists) | $1,000 – $3,500 (material + any labor) |
| Electrical Work (wiring, outlets, lights) | $1,500 – $5,000 (materials; add ~$50–$100/hr if hiring electrician) |
| Plumbing Work (for bathroom or bar) | $0 – $5,000 (if adding bathroom or plumbing fixtures; can be $10k+ for full bath) |
| HVAC (ductwork extension or baseboard heat) | $500 – $3,000 (if extending system or adding separate unit) |
| Drywall & Wall Finishes (walls/ceiling) | $1,000 – $3,000 (drywall, mud, tape; hiring out drywall finishing adds cost) |
| Ceiling Finish (drop ceiling or drywall) | $1,000 – $3,000 (drop ceilings ~$2–$4/sq.ft.) |
| Flooring (materials & install) | $1,500 – $6,000 (depends on type, see below) |
| Paint (walls and trim) | $200 – $1,000 (DIY painting supplies) |
| Doors & Trim Carpentry | $300 – $1,000 (interior doors, trim moldings) |
| Permits & Inspections | $500 – $2,000 (permits, code inspections fees) |
Table: Approximate DIY basement finishing costs by category (for a mid-sized project).
A few notes on these categories:
- Waterproofing & Moisture Control: This is critical before you start any finishing work. Costs here could include gutter extensions, grading the soil outside, applying waterproof paint or membrane to the interior walls, installing a sump pump, or even interior French drains. As a DIYer, address the simple stuff first (fix gutter issues, seal small wall cracks with hydraulic cement, use masonry waterproofing paint). Professional waterproofing (like drain tile or serious foundation repairs) can range into the thousands, but hopefully your basement just needs minor fixes. It’s money well spent to ensure a dry foundation – you don’t want your newly finished space ruined by water. (Also consider a dehumidifier to keep humidity down, especially in summer, which can run $200–$500 for a good unit.)
- Framing & Insulation: You’ll likely frame out basement walls with 2×4 studs to create a cavity for insulation and drywall. Lumber isn’t too pricey for a basement; $700–$1,500 covers a lot of wood and screws for a simple layout. If you plan a lot of rooms (e.g. dividing into multiple bedrooms, bathroom, closets), you’ll have additional cost for more studs and maybe structural changes (like adding a beam or soffit). Insulation is essential to make the basement comfortable. You can use fiberglass batts (cheapest), spray foam (priciest), or rigid foam panels. Material cost varies, but insulating an average basement might cost about $1,500–$3,000. The Department of Energy notes that insulating basement walls (vs. the ceiling) is usually preferable, as it makes the basement part of your conditioned living space and saves on heating costs. Proper insulation will make your basement a functional living space year-round and could save you money on energy in the long run.
- Electrical Systems: Even if you’re DIYing, budget for electrical. You’ll likely need to add circuits to your electrical panel for basement outlets and lighting. Building codes typically require any new electrical work to be done or at least signed off by a licensed electrician. If you have the know-how, you might do some wiring yourself and then pay an electrician just to make final connections and ensure everything is up to code (this can save money). Plan on installing plenty of light fixtures – basements need good lighting. Recessed lights (can lights) are popular and cost maybe $20–$50 each for the fixture; you might put in 10–20 of them. The wiring, outlets, and switches for a basic basement could be a few hundred dollars in materials. If you hire an electrician for a final hookup or difficult tasks, you might spend a couple thousand on labor, depending on how extensive the job is. Complex setups (like a full home theater wiring with sound system, or if your existing panel needs an upgrade) can push electrical costs up toward $5k or more. For a DIY basement doing a standard family room and perhaps one bedroom, $1,500–$3,000 in electrical materials/services is a fair rough range.
- Plumbing: If you don’t plan any plumbing (no bathroom, no sink), you can ignore this cost – huge savings. But many people want at least a half-bath in the basement or maybe a bar sink. Tying into existing plumbing can be challenging. If you’re adding a basement bathroom, costs can vary wildly. If the drain lines and venting are already roughed in (common in some newer homes that leave stubs for a future bathroom), you’re in luck – connecting fixtures might be a couple thousand dollars in materials (toilet, shower, sink, pipes) plus perhaps a plumber’s help for a day. If nothing is there, you may need to cut into the concrete slab to add a drain (or use an upflushing toilet system) – that’s more work and cost. Installing an ejector pump for a basement bathroom (to pump sewage up to the main sewer line) costs extra as well (often $1,000+ for the pump and install). Overall, a basic half bath might be $3k, and a full bath with shower could easily be $5k–$10k when all is done. Wet bars are similar on a smaller scale (sink + drain line). Plumbing work often requires a professional contractor (plumber) unless you’re experienced. So, consider these labor costs in your budget if you go this route. If budget is a concern, you can always finish the main area now and leave plumbing rough-ins for later when funds allow.
- Drywall and Ceilings: Hanging drywall is time-consuming but doable as a DIY (get a helper or rent a drywall lift for ceilings). Drywall panels themselves are cheap (around $15 for a 4×8 sheet). For 1,000 sq. ft. basement, materials might be $500–$800. If you DIY the hanging and finishing (taping/mud) it might just cost you sweat equity and under $1,000 in supplies. If you choose to hire out the drywall finishing for a smooth look, that will add labor cost. Ceilings: Many homeowners choose drop ceilings (suspended acoustic ceiling tiles) in basements to allow easy access to pipes and wires. A drop ceiling costs roughly $2–$4 per sq. ft. in materials – for a 1,000 sq. ft basement, that could be $2,000–$4,000 if you do a large area. If you drywall the ceiling instead, the material is cheap but remember any future access to utilities becomes harder (and drywalling a ceiling is a workout!). Sometimes a mix is used: drywall around the perimeter, drop ceiling in the center where most pipes are, etc. Budget a couple thousand for ceiling finishing in some form. Pro-tip: If ceiling height is an issue, furring the ceiling down or relocating ducts might be necessary to meet code minimum height – this is a structural change that can add cost. Always check your height; most codes want about 7 feet of clearance for living space.
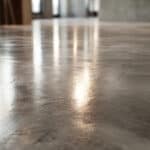
- Flooring: Basement flooring options range from concrete floor sealer (simply painting or epoxy-coating the concrete) to carpet, vinyl, laminate, tile, or engineered wood. Carpeting (with a vapor barrier pad) can be a cost-effective way to make a basement cozy, often around $2–$4 per sq. ft. installed for basic carpet. Luxury vinyl plank (LVP) is very popular for basements now – it’s waterproof and imitates wood; costs about $3–$7 per sq. ft. for materials (you can DIY install most click-lock LVP). Laminate is similar in price to LVP but less water resistant. Ceramic tiles or porcelain tile floors are great for basements (waterproof), but they can be cold and hard (you can always add area rugs) – tile material plus install can range from $5–$15 per sq. ft. depending on your choices. Hardwood is generally not recommended in below-grade basements due to moisture; if you love wood, look at engineered hardwood or vinyl that looks like wood. If you decide to splurge on flooring, you could spend upwards of $10k on a large basement (e.g. high-end tile or engineered wood in a big space). If you go budget-friendly (some carpet or basic vinyl), maybe you’ll spend $1,500 total. Also, remember to account for floor prep: you might need to level the slab or install subfloor panels (like DriCore or plywood) for warmth, which adds to cost of materials. One design choice some DIYers do to save money is finishing the basement in stages – you might finish walls and ceiling now, but leave the concrete floor as is (or just paint it with epoxy for a clean look) and add nicer flooring later when budget permits. This can cut the initial costs substantially if you’re willing to live with a painted concrete floor temporarily.
- Paint and Finishing Touches: Painting is one area you can definitely DIY to save money. Plan on buying drywall primer, paint for walls, and paint for trim/doors. The average cost to paint a basement might be a few hundred dollars if you do it yourself – 5 gallons of good paint might run $150–$250, plus brushes, rollers, etc. If using specialty masonry paint on concrete walls (for waterproofing), that might cost a bit more per gallon but is still affordable. Don’t forget about basement wall prep if painting masonry – products like Drylok (waterproofing paint) run ~$30–$40 per gallon. In a DIY, you won’t pay labor for painting, just your time. If you absolutely hate painting and hire a painter, expect to pay $1,000–$3,000 depending on basement size. Most DIYers handle this step to keep final cost down.
- Doors, Trim, and Miscellaneous: Budget a few hundred for interior doors (around $100 each for basic prehung doors) if you have separate rooms, plus doorknobs, light switch plates, and trim/molding for baseboards and around windows/doors. These relatively small costs can add up to a thousand or two if you have a lot of rooms, but for a basic basement with one bedroom and a bathroom, you might have 2–3 doors and maybe 200 linear feet of trim. Many DIYers save money by buying pre-primed trim and painting it themselves, or even using MDF trim which is cheaper than real wood.
- Permits and Inspections: As mentioned earlier, pulling permits is necessary for legal finishing. You’ll likely need an electrical permit, possibly plumbing permit if adding plumbing, and a general building permit for framing/drywall. Permit fees vary by municipality and by the project scope. Plan on a few hundred dollars for each permit; some cities charge based on project valuation. On average, it’s wise to set aside at least $1,000 or so for permits/inspections when planning a basement finish. It could be less if you’re doing minimal work (e.g. just finishing walls, no new plumbing or HVAC changes), or more if it’s a big job. While permits feel like an annoying additional cost, they ensure your local building codes are met – you’ll sleep better knowing the space is safe and it will pay off when you sell your home (finished square footage only counts in many areas if it was properly permitted and inspected).
As you allocate your budget across these categories, remember that every basement is different. You might spend zero on plumbing if you don’t add any, or you might pour $10k into a luxury bathroom. You might skip drop ceilings and just paint everything black up top to save money, or you might pay extra for a polished look. The best approach is to prioritize what matters to you and allocate funds to those areas first.
Now that we’ve dissected the costs, let’s talk about ways to save money on your DIY basement project and how to plan your budget smartly.
Best Ways to Save Money on a DIY Basement Finishing Project

Finishing a basement can be expensive, but there are different ways to cut costs without sacrificing quality. Here are some homeowner-relevant tips to keep your budget in check:
- Plan and Design with Budget in Mind: Good planning can prevent overspending. It’s a good idea to decide early on which features are “must-haves” and which are “nice-to-haves.” Focus on creating a functional living space that meets your needs, but maybe hold off on luxury extras if money is tight. For example, if a full wet bar or built-in entertainment center strains the budget, consider adding the necessary plumbing or wiring now (so the right place hookups are available) but leave the actual bar or custom cabinets for a future phase. By planning ahead, you can rough-in certain things and finish them later when you have more funds.
- Keep the Layout Open: An open floor plan is not only trendy, it’s cheaper. Every time you add a wall or separate room, you add costs (framing, extra drywall, doors, etc.). If you can, design your basement as a mostly open entertainment area or family room, perhaps with one extra bedroom or home office if needed. Fewer walls = less material and labor. It also keeps the space feeling bigger. You can use furniture or area rugs to define zones (TV area, play area, etc.) instead of building walls. This strategy reduces complexity and cost. Plus, as one appraiser put it, “the more a basement feels like an above-ground space, the more likely you are to use it”- Lansing Real Estate – open layouts with good lighting appeal to both you and future buyers.
- Do It in Stages: You don’t have to do everything at once. To manage cash flow, some homeowners partially finish the basement in phases. For instance, you might first do the basement walls, drop ceilings, and basic electrical (lights/outlets) to get a usable rec room. Then, later on, add the bathroom or fancy flooring when you’ve saved more. There are different ways to phase a project: you could frame and wire everything first (while walls are open), but maybe only drywall half the basement and leave the rest for later. Or finish all but the bathroom, closing off the bathroom area for now. Doing the project in stages can help avoid taking on debt. Just be careful to still do things in a logical order (e.g. run any hidden wires or pipes initially, even if the room they serve comes later).
- Shop Smart for Materials: Material costs can often be reduced with some savvy shopping. Look for sales at home improvement stores, surplus building material auctions, or Habitat for Humanity ReStore (great for doors, cabinets, light fixtures, often at a fraction of retail). Credit cards can be tempting for buying materials, but try to use them only if you can pay them off to avoid interest. If you have to use financing for materials, consider low-interest options like a home equity loan (if you have equity) or a loan from credit unions which often have lower rates. Many home improvement retailers offer 0% APR promotions on their store credit cards for 6-12 months – that can be useful if you are sure you can pay it off in that timeframe (otherwise high interest kicks in). In any case, monthly payments on big purchases will add up, so the less you borrow the better. Also, compare prices on everything: one lighting fixture might be $100 at a specialty store but a similar one $40 at a big box store. Those savings multiplied across many items keep your final price down.
- Do (Nearly) Everything You Can Yourself: This seems obvious in a DIY project, but it’s worth emphasizing – the best ways to save money are by providing your own labor and skills. Tackle the tasks that you feel comfortable with to avoid paying someone. Demolition, framing walls, insulating, painting, laying click-together floors, installing trim – all of these are DIY-friendly with some research and effort. For tasks beyond your skill, see if you can assist a pro to reduce labor – e.g. you do all the prep and have a licensed electrician just do the connections, or you hire a plumber friend on a weekend for a discounted rate. However, know your limits. It’s not worth botching critical electrical work or plumbing work that could cause safety issues or costly damage. Use professional expertise when required (especially for anything that must be to code). Even after hiring out a couple things, doing the bulk DIY will still yield huge savings.
- Use Inexpensive Finishes that Look Great: You don’t have to use cheap-looking materials to save money. For example, instead of real stone veneer on a feature wall (expensive), you could use a painted faux finish or reclaimed wood panels. Instead of high-end ceramic tile, maybe a ceramic tile lookalike vinyl. Paint can do wonders on a budget – painting the exposed ceiling and ductwork in a single color (like matte black or white) gives an industrial-chic look and saves you from building a ceiling at all. Exposed pipes can even be a design element if done neatly. If you need storage, build simple open shelves or use inexpensive IKEA cabinets rather than custom built-ins. Lighting can also change the vibe for cheap; use plenty of inexpensive recessed lights and maybe one decorative fixture in a key spot. By choosing budget-friendly yet durable materials, you can dramatically cut costs and still have a basement that looks home design magazine-worthy.
- Re-purpose and DIY Decor: Include in your budget some storage space or closet if you need to still use part of the basement for storage (many people keep a corner unfinished for utilities and storage to save finishing costs). Use leftover lumber to build storage shelves. Repurpose old furniture for the basement rather than buying all new. For example, an old kitchen cabinet set could become your basement kitchenette or bar by repainting it – far cheaper than custom cabinets. Thrift stores, Facebook Marketplace, and garage sales can be gold mines for things like a TV stand, a foosball table for the game room, or even excess construction materials from someone else’s project (tiles, flooring pieces, light fixtures). One person’s leftover can be your low-cost finish.
Finally, one area you should not skimp on: safety and code compliance. It might be tempting to ignore some building rules to save money (like not installing an egress window or not upgrading that old fuse box), but that can create dangerous situations and hurt your home’s value. Always ensure you have proper emergency exits, smoke and CO detectors, and that any structural or electrical work is done correctly. An extra few hundred spent on doing it right will pay off in the long run by preventing costly problems (or failed inspections).
Now that we’ve looked at saving money, let’s consider the flip side: what do you gain by finishing your basement? How does it impact your home’s worth?
Will a DIY Finished Basement Increase Your Home’s Value?
One big motivation for investing in a basement renovation is the idea that it will boost your home’s value. In truth, adding usable square footage does tend to increase a property’s value – but not always dollar-for-dollar. According to the National Association of Realtors, converting a basement into living space can recoup around 60%–70% of the project cost in resale value on average. (For example, if you spend $20,000 finishing the basement, your home’s appraisal might go up by ~$12,000–$14,000.) This percentage can vary depending on your market and how well the basement finish appeals to buyers. Basements generally don’t appraise at the full value of above-grade space (maybe around 50–70% of above-grade value per square foot), but they certainly make your home more attractive to buyers compared to an unfinished dungeon.
Beyond pure numbers, think about livable space and lifestyle. If you plan to stay in the home, a finished basement provides functional living space for your family – whether it’s a guest suite for visiting relatives, a fun game room for the kids, or that home theater you’ve always wanted. The National Association of Realtors’ Remodeling Impact Report found that homeowners who finish basements often experience a high degree of joy and satisfaction, even if they don’t recoup every dollar upon selling. In fact, 85% of homeowners in their survey were happier at home after adding a basement living area, and the project scored a 9.5 out of 10 on the “joy” scale – meaning the enjoyment you get might be worth more to you than the pure resale value.
That said, if resale is on your mind, a few tips:
- Keep it Versatile: Designs that can serve different needs will appeal to more buyers. For instance, adding a closet to a room can allow it to count as a bedroom – even if you use it as a home office now, a future buyer might see it as an extra bedroom. Open layouts, neutral colors, and livable space that feels like the rest of the house (good lighting, nice flooring) will make the basement a selling point. In contrast, very specialized setups (like a recording studio or dark home theater with no lighting) might not appeal to everyone.
- Meet Code and Quality Standards: A shoddy DIY job can actually hurt value or at least raise questions. So, make sure the workmanship is good and permits are signed off. If an appraiser or buyer sees a beautifully finished basement with proper egress windows, building permits closed out, and no signs of moisture issues, they will feel confident valuing it alongside the rest of the living area. Poor workmanship or half-baked finishes can backfire.
- Don’t Over-Invest for Your Neighborhood: There is such a thing as higher costs than you can ever recoup. If homes in your area aren’t expected to have lavish basements, spending $100k on a marble-floored basement spa might be overkill. Aim for a balanced approach – a basement renovation cost that results in a comfortable, code-compliant space will generally add value, but ultra luxury in a basement may not return accordingly. It’s an important factor to consider if resale is a primary goal.
In summary, a finished basement can boost your home’s value and certainly its appeal, but the true “return” includes the enjoyment your family gets from the space. Think of it as investing in both your property and your quality of life at home.
Budgeting and Financing Your Basement Project
Before swinging a hammer, make sure your financing plan for the project is solid. Here are some budgeting tips and financing options:
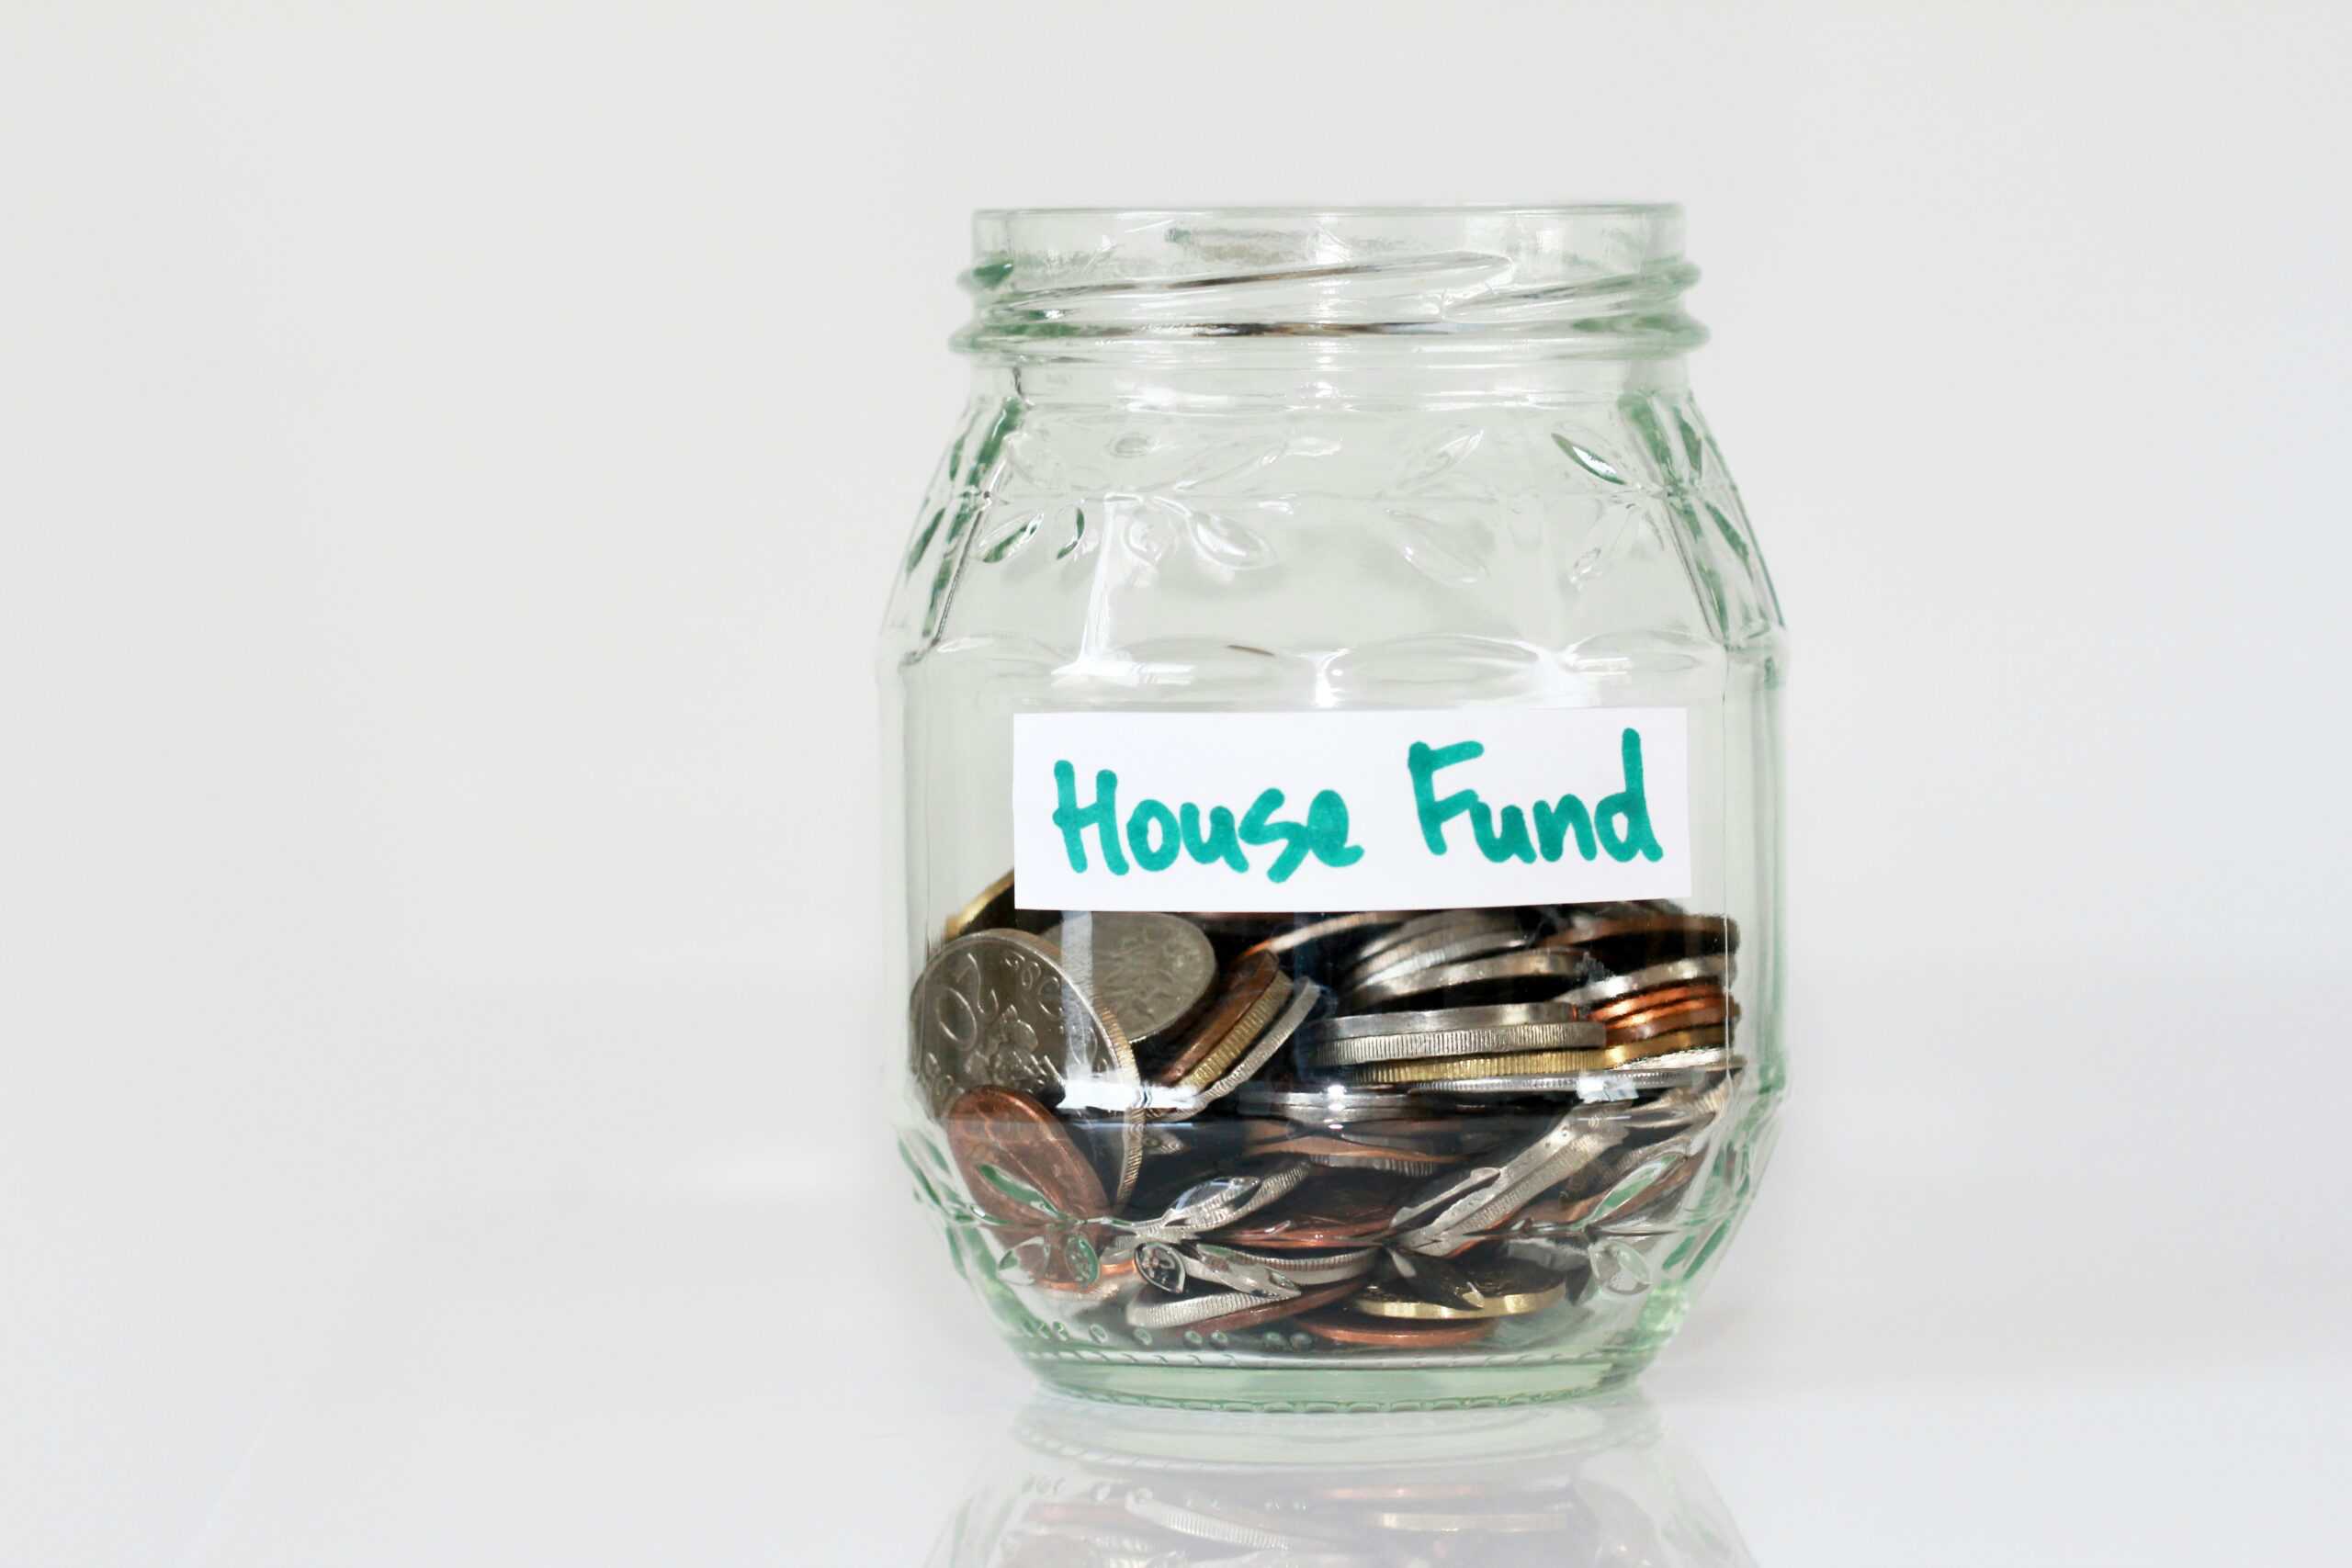
- Set a Realistic Budget: Based on the cost breakdown above, figure out a ballpark for what you can afford. It might help to decide on a target total (say $15,000) and then allocate it to categories (e.g. $5k for materials, $2k for permits and pros, $3k for finishes, and a buffer for surprises). Always include a contingency – at least 10% of the overall project cost (and 20% is safer, especially in older homes where unique needs or surprises pop up). It’s easier to come up with, say, an extra $2,000 on a $20k project if you planned for it than if you spent every penny and then discovered a needed fix.
- Paying Cash vs. Financing: Ideally, save up and pay cash for materials as you go. But many people will use some form of financing for larger home improvement projects. Common options include a home equity loan or home equity line of credit (HELOC), which often have lower interest rates since your home is collateral. Interest on a home equity loan used for home improvement may be tax-deductible (consult your tax advisor). Another option is a personal loan from a bank or credit unions, which might offer a decent rate for borrowers with good credit. If you go this route, shop around for the best interest rates and terms – a credit union or community bank can sometimes beat big banks on loan rates. Credit cards are generally the most expensive financing due to high interest, so try to avoid putting large project expenses on a card unless you have a special 0% APR promotional period and a clear plan to pay it off before interest accrues. If you do use credit cards for convenience or rewards, consider paying them off immediately from savings to avoid carrying a balance. The key is to not let a basement project snowball into long-term high-interest debt with hefty monthly payments that strain your budget.
- DIY Doesn’t Mean “No Cost”: Remember to budget for all the little things people often forget. Tools or tool rentals (do you need to buy a drywall lift, a wet saw for tile, or extra drills?), safety gear (masks, gloves, goggles – especially if dealing with dust or any older homes that might have lead paint or asbestos, where professional removal could be required), dumpster rental or disposal fees for construction debris, and even the increase in utility bills if you add heating for the basement. These can be small individually, but together might be a few hundred or more. Include a line item in your budget for “miscellaneous” or “tools/supplies” so you’re not caught off guard.
- Get Multiple Quotes (Even if DIY): If you plan to hire out any portion (electrical, plumbing, etc.), get a few quotes from contractors. You might be surprised at the difference in price. Also, even if you’re DIYing, it can be helpful to get a general contractor or basement finishing company to give you a quote on the whole project – not because you’ll hire them, but to see a breakdown of what they include and their cost. This can serve as a benchmark and also might reveal tasks you didn’t consider. Just be honest that you’re budgeting and considering options. You might glean some free advice in the process. And who knows, you might decide to outsource a particularly tricky part if a quote comes back reasonable.
- Monitor and Adjust: Once you start the project, keep a running tally of expenses. It’s easy to say “oh this extra is just $50” a few times and then find out you’re $500 over budget. Track everything in a spreadsheet or notebook. If you start trending over budget in one area, see if you can save in another. For example, if framing lumber ended up costing 30% more due to price fluctuations, maybe you opt for a cheaper carpet than initially planned to make up the difference. Staying on top of costs in real time will help you make informed decisions before overspending.
By carefully budgeting and choosing the right financing strategy, you can finish your basement in a financially sane way. A DIY basement project is one of the bigger home improvement projects you might undertake, but with planning, it’s absolutely achievable within a reasonable budget.
FAQ Cost to Finish a Basement DIY
How much does it cost to finish a basement yourself?
On average, a DIY basement finish costs $15,000–$25,000 for 1,000 square feet, or about $15–$25 per square foot. The total cost varies depending on materials, layout, and whether you add features like a bathroom or wet bar.
Is it cheaper to finish a basement yourself?
Yes. DIY basement projects are typically 40–60% cheaper than hiring a contractor because you save heavily on labor. However, be prepared to invest more time and handle tasks like framing, insulation, painting, and flooring yourself.
What is the biggest expense when finishing a basement?
The most expensive part is usually adding a bathroom or wet bar, due to plumbing and drainage. Other high-cost items include flooring, electrical work, and permits if your local codes require them.
Can you finish a basement without pulling permits?
In most areas, permits are legally required if you’re adding electrical, plumbing, or framing walls. Always check with your local building department. Unpermitted work can lead to fines or issues when selling your home.
How long does it take to finish a basement DIY?
Most homeowners take 2–6 months working part-time on evenings and weekends. The timeline depends on the scope of work, whether you’re working solo or with help, and if you’re hiring out complex tasks like plumbing.
Do you need an egress window in a finished basement?
Yes — if you add a bedroom, most building codes require an egress window for safety. It allows for emergency exit and can cost around $3,000–$5,000 to install if one doesn’t already exist.
What’s the best flooring for a DIY basement finish?
Luxury vinyl plank (LVP) is a top choice — it’s waterproof, affordable, and DIY-friendly. Other good options include tile, laminate, or carpet with vapor barrier padding. Avoid solid hardwood due to moisture risks.
Can you finish a basement in stages to save money?
Absolutely. Many DIYers start with framing, insulation, and lighting, then add flooring, bathrooms, or custom features later. This approach spreads out costs and keeps the project more manageable.
Final Thoughts
Transforming an unused basement into livable space is a home improvement project that can greatly enhance your home’s functionality and value. By taking the DIY route, you have the opportunity to save a significant amount of money – but it’s important to approach it with eyes wide open about the costs involved. The average cost to finish a basement DIY will depend on your home, your plans, and your resourcefulness in keeping expenses down. Remember to handle any moisture issues upfront (water is the enemy of any finished basement, so get it dry and keep it dry). Adhere to local building codes for safety – for example, ensure you have proper egress window exits and that electrical work is inspected – like in Portland. With good planning, smart shopping, and sweat equity, you can create a beautiful new level in your home at a fraction of the cost of hiring it out.
As a next step, if you haven’t already, sketch out your basement floor plan and start listing materials you’ll need. Check out our other resources like for choosing the Best Paint for Concrete Basement Walls (to keep those walls dry and looking great), or our flooring guide to explore Best DIY Basement Flooring Options for Every Budget. These will give you more detailed tips on specific aspects of basement finishing, complementing the cost info you got here.
Finishing a basement yourself is a big project, but many homeowners have done it successfully – and the rewards are huge. You gain an entire new level of living space, whether it becomes a cozy family hangout, a home office haven, or an income-generating rental suite. Take it one step at a time, keep an eye on costs, and don’t be afraid to ask for help or advice from professionals or knowledgeable friends for the tricky parts. In the end, you’ll not only increase your home’s value but also your pride in accomplishing a major DIY achievement. Happy building, and enjoy your new basement!