
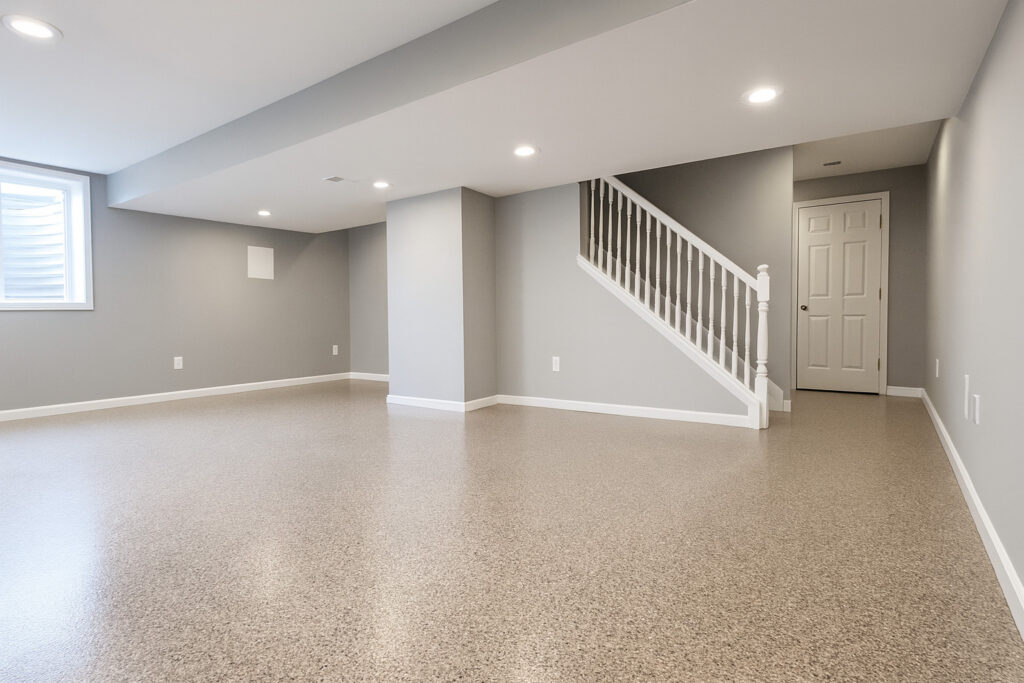
If you’ve ever looked at your bare concrete floor and wished it had a more finished look, you’re not alone. Applying a DIY basement floor epoxy coating is one of the best ways to upgrade your concrete basement floors—adding durability, shine, and style while resisting stains and moisture. This guide walks you step-by-step through the entire epoxy project, from preparation to the final coat, so you can achieve professional-level results at home.
Why Epoxy Is the Best Choice for Basement Floors
Epoxy is more than just paint—it’s a two-part coating system that bonds tightly to your concrete surface to create a strong, seamless layer. The Part A (resin) and Part B (hardener) components chemically react to form a surface tougher than standard floor paints or driveway sealants.
When properly installed, epoxy flooring can last for many years—even in high-traffic areas like garages or basements. It resists water, oil, and chemicals while giving your space a clean, professional finish.
Whether you’re tackling a small diy project or coating your entire floor, this upgrade can dramatically improve your basement’s appearance and value.
Step 1: Assess and Prepare the Concrete Surface
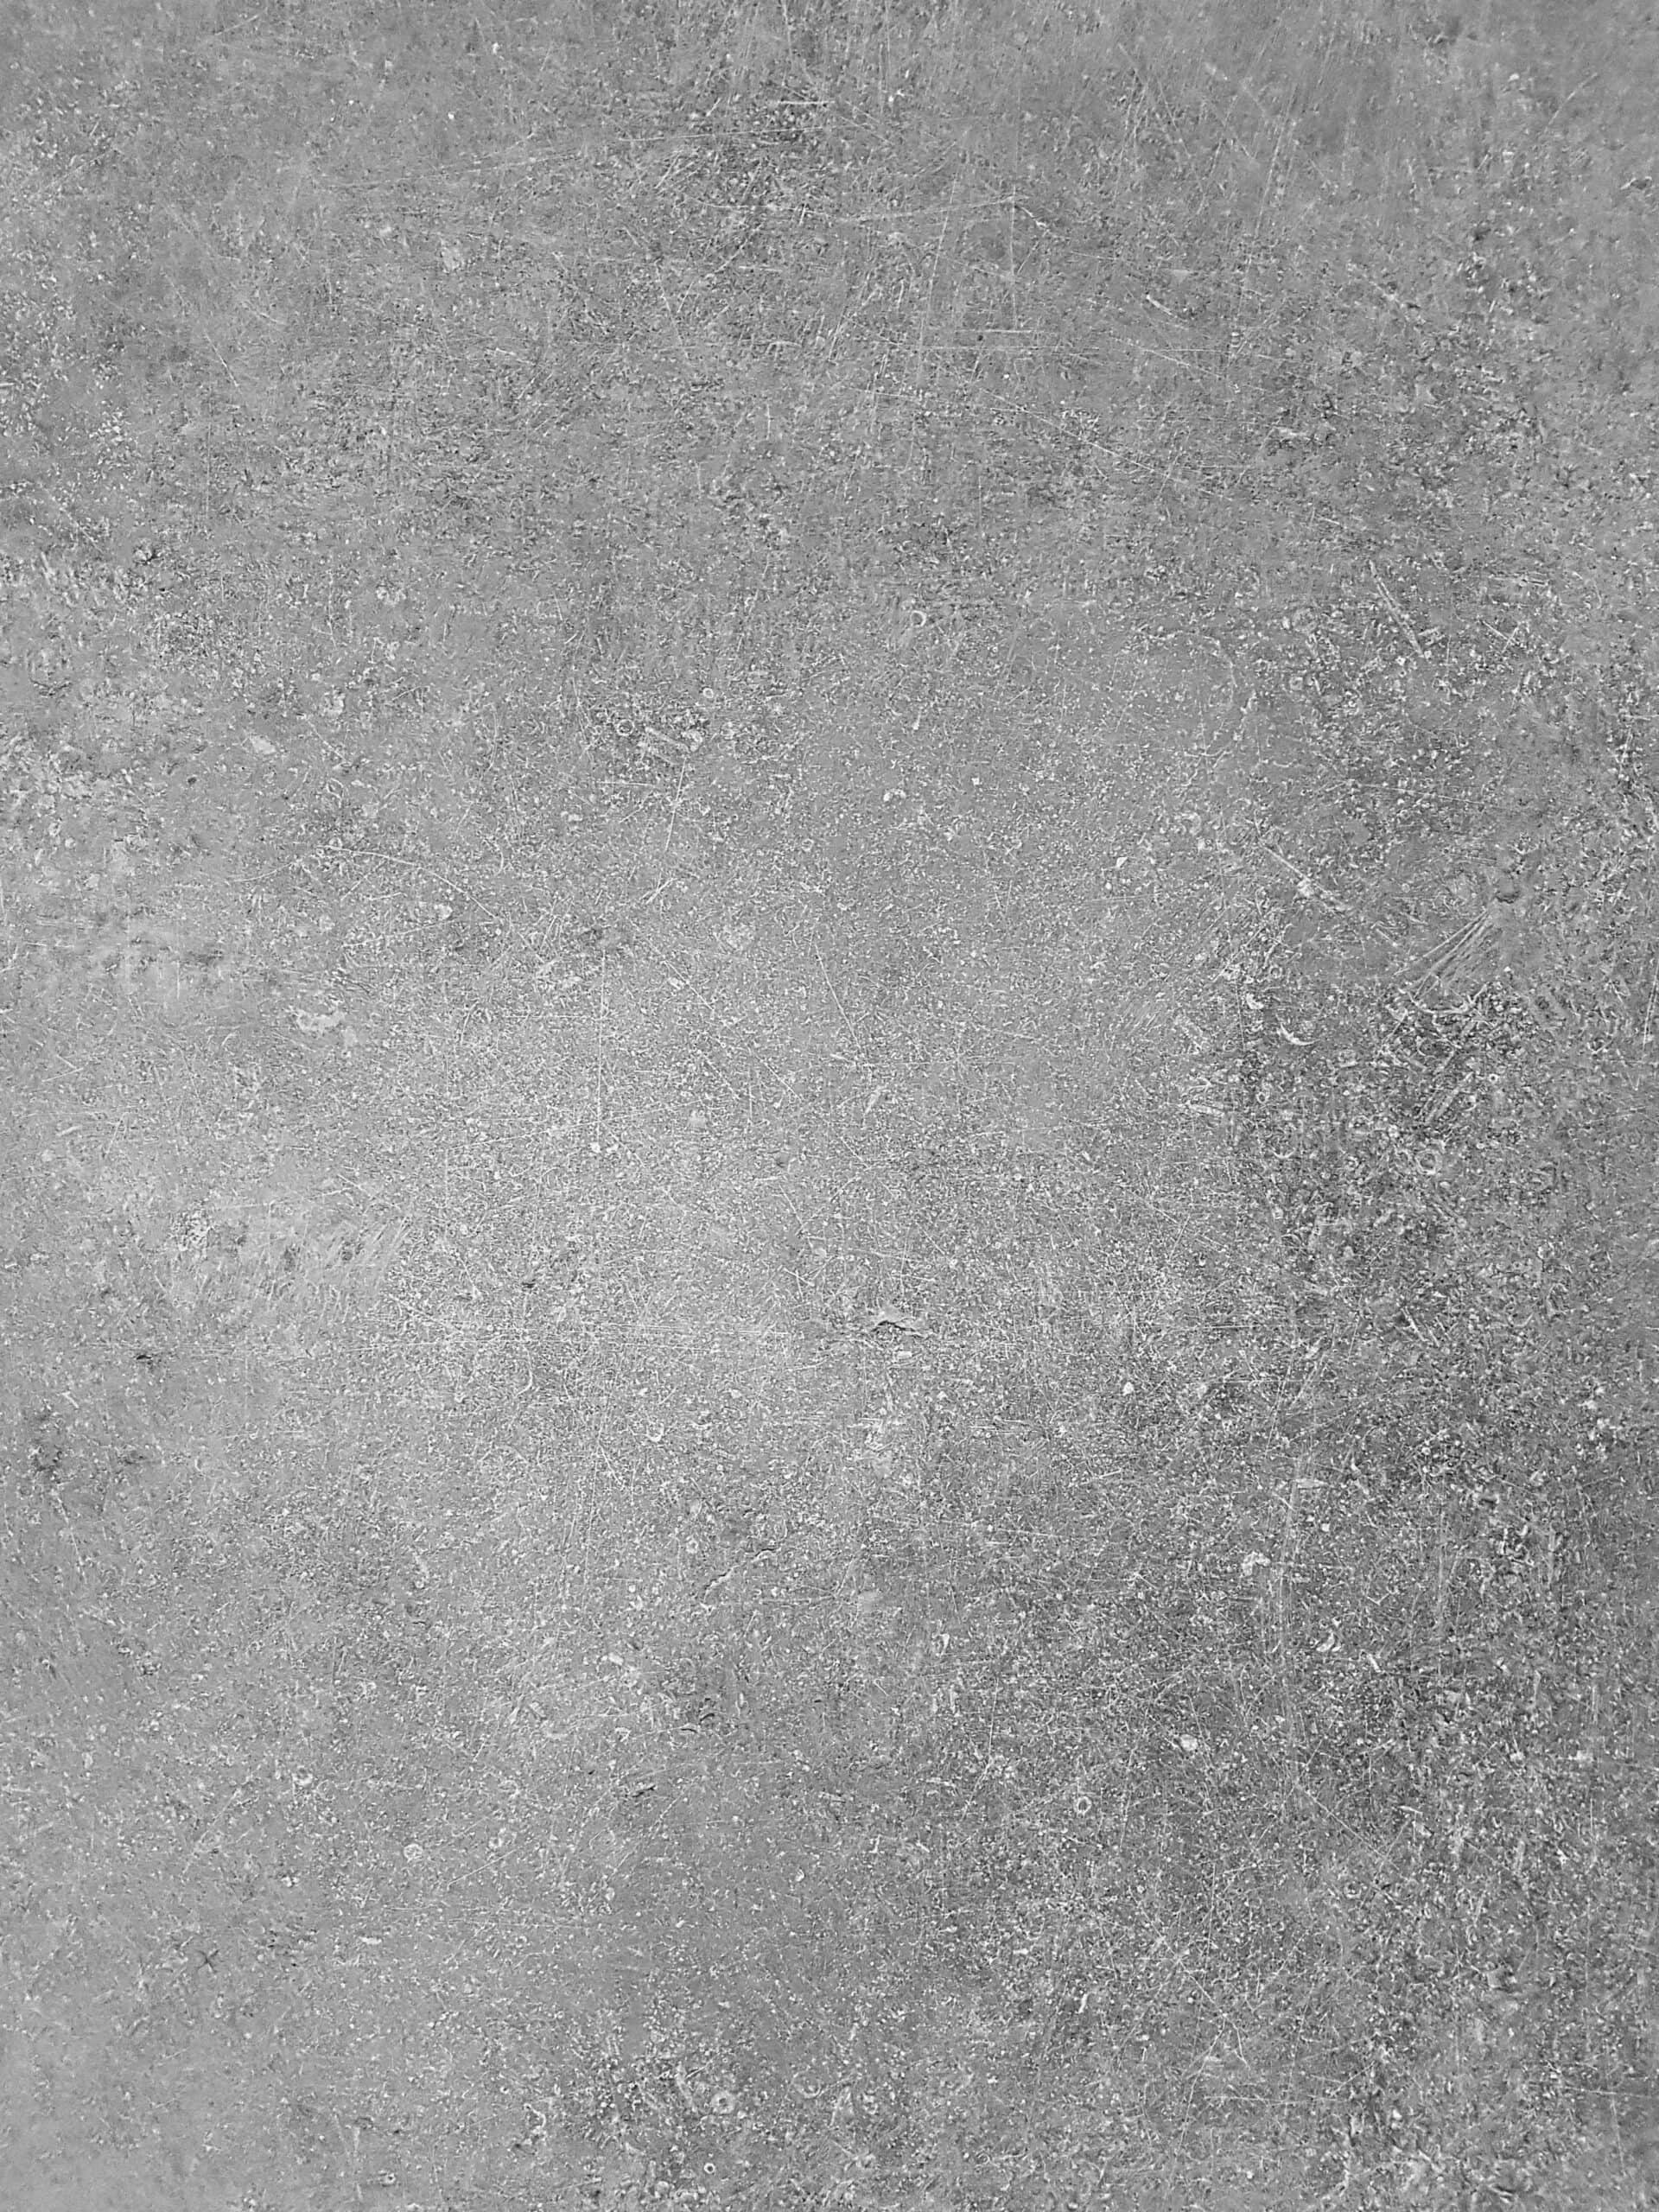
Before you open the epoxy paint kits, it’s crucial to understand that surface preparation is the most important step in any epoxy coating job. A poorly prepared floor can lead to peeling or bubbling later. Before applying any coating, test your basement for trapped moisture to prevent adhesion problems. If you want a faster and more reliable check, a simple moisture meter for concrete floors can help confirm whether the slab is dry enough for epoxy. These inexpensive tools reduce the risk of bubbling or peeling caused by hidden moisture. The U.S. Department of Energy’s Moisture Control Guide offers practical steps to identify and manage damp conditions.
1. Inspect for Damage
Check for hairline cracks, chips, or pitting. Use a putty knife and patching compound to fill small gaps. For small cracks or divots, a concrete crack filler for basement floors creates a smooth surface so defects don’t telegraph through the epoxy. Epoxy coatings will fail if applied over weak or spalling concrete, so make sure you fix a crumbling basement floor before starting this process.
If you notice moisture seeping through the floor, conduct a moisture test using plastic sheeting—tape a square to the concrete surface for 24 hours. If condensation forms underneath, your floor may not be ready for epoxy.
2. Clean the Floor Thoroughly
Start by sweeping away all dust and debris. Next, use a pressure washer with clean water and a degreaser to remove oil or other residues. A concrete degreaser for garage and basement floors helps remove oil and residue that can interfere with epoxy adhesion. Be sure to let the floor dry completely for at least 24–48 hours.
3. Etch the Surface
For the epoxy to adhere properly, the floor must be slightly rough or porous. Use an etching solution or muriatic acid mixed in small amounts with water (following the manufacturer’s instructions carefully). Always wear gloves and eye protection—acid wash produces hazardous solvent fumes.
For a safer alternative, a pre-mixed concrete etching solution is easier to use than muriatic acid and works well for most DIY epoxy projects.
Once etched, rinse thoroughly with clean water and allow the surface to dry again. You’ll know it’s ready when it feels like fine sandpaper under your hand.
Step 2: Gather the Right Materials and Tools
Having the right materials from the start helps ensure best results. You’ll need:
- DIY epoxy kit or basement epoxy kits (with Part A and Part B)
- Extension pole and roller covers
- Mixing bucket and stir stick
- Painter’s tape and drop cloths
- Putty knife for touch-ups
- Floor grinder or buffer (optional for large or heavily coated floors; often rented locally)
- Protective gear (gloves, goggles, and respirator)
- Decorative chips or color flakes (optional)
- Clear coat or top coat for extra shine
If you’re unsure about coverage, most kits list their square footage capacity—often around 250–500 sq ft per kit. Measure your entire floor and buy slightly more than you think you’ll need to stay on the safe side.
Step 3: Mix the Epoxy Correctly
Epoxy comes in two parts, and getting the ratio right is essential.
1. Combine Part A and Part B
Pour Part A (resin) into a clean bucket, followed by Part B (hardener). Mix them slowly using a drill with a mixing paddle for about three minutes. Be sure to follow the manufacturer’s instructions—especially the pot life, which tells you how long the mixture remains usable.
2. Add Color or Decorative Chips
Some epoxy paint kits allow you to tint the mixture for different colors or sprinkle decorative chips for texture and slip resistance.
If you want a solid color, skip the flakes; for a more finished look, scatter them lightly over wet epoxy as you roll it on.
Step 4: Apply the Epoxy Coating
Once mixed, epoxy starts curing quickly, so this part requires steady focus.
1. Start at the Back Wall
Using a brush, cut in along the edges and corners first. Then use your extension pole and roller to apply epoxy evenly across the floor in small sections. Work toward your exit to avoid stepping in wet epoxy.
2. Maintain a Wet Edge
Overlap slightly between passes for a smooth finish. Don’t stop in the middle of a section—the final result depends on keeping an even, continuous coat.
3. Apply Decorative Chips (Optional)
If you’re adding color flakes, toss them upward (like feeding chickens) while the epoxy is still wet. This method helps them land more evenly across the whole floor.
4. Let It Cure
Let the first coat dry per the manufacturer’s instructions—usually about 12 to 24 hours. Avoid walking on it during this period.
Step 5: Apply the Second Coat or Clear Coat
Most homeowners achieve the best results by applying a second coat or a clear coat for extra protection. Mixing a non-slip additive for epoxy floors into the topcoat improves traction—especially in basements or laundry areas.
- For water-based epoxy, you may only need one coat.
- For solvent-based or industrial space applications, a top coat or matte finish can boost durability.
If your diy epoxy floor kit includes a clear coat, apply it after the first coat is fully cured. The clear coat enhances shine and protects against scratches and heavy objects.
Step 6: Finishing Touches and Cleanup
Once your final coat is dry, carefully remove painter’s tape from the edges. If any flakes or dust remain on the surface, sweep or vacuum gently.
Avoid placing throw rugs, furniture, or heavy objects for at least 48–72 hours to allow full curing. Keep away from open flames or heating sources during this time, since epoxy can release hazardous solvent fumes until cured.
Step 7: Maintenance Tips for Long-Lasting Floors
Your new epoxy basement floor should last years with proper care. Here’s how to keep it looking its best:
- Clean regularly with mild detergent and clean water.
- Avoid harsh chemicals or abrasives that could dull the epoxy finish.
- Use slip-resistant mats near stairs or doorways.
- Place pads under heavy objects to prevent scratches.
- Reapply a top coat every few years to refresh the shine.
A little maintenance goes a long way toward preserving your epoxy flooring investment.
Step 8: Comparing Flooring Options and Costs
If you’re still deciding whether to go with epoxy, here’s how it stacks up against other flooring options:
| Flooring Type | Durability | Moisture Resistance | Average Cost per sq. ft | Appearance |
|---|---|---|---|---|
| Standard Paint | Low | Low | $1.00–$2.00 | Flat, fades easily |
| Vinyl Tile | Moderate | Moderate | $2.00–$4.00 | Basic designs |
| Epoxy Coating | High | Excellent | $3.00–$6.00 | Glossy, customizable |
| Polished Concrete | Very High | Good | $5.00–$10.00 | Industrial look |
While epoxy may have a higher total cost upfront, it delivers unmatched longevity and visual appeal—making it the best choice for homeowners who want a great option that lasts.
Common Mistakes to Avoid
- Skipping surface preparation – The number one cause of failure is applying epoxy to dirty or damp concrete.
- Mixing incorrectly – Wrong ratios between Part A and Part B can cause soft or uneven curing.
- Waiting too long – Once mixed, you usually have less than 45 minutes before epoxy becomes too thick to apply.
- Not following manufacturer’s instructions – Every brand differs slightly; always read before starting.
- Applying in humidity – High moisture can lead to bubbling or peeling. Make sure your basement is dry and well-ventilated.
By following these basic steps, you’ll avoid common pitfalls and ensure a professional outcome.
How to Choose the Right Type of Epoxy
There are several types of epoxy coatings to choose from, each with pros and cons:
- Water-Based Epoxy: Easier for beginners, low odor, fast drying—perfect for most basements.
- Solvent-Based Epoxy: Creates a thicker layer and high gloss but requires good ventilation.
- 100% Solids Epoxy: Professional grade with the toughest finish, ideal for industrial spaces.
Many homeowners find that DIY epoxy kits with color options and pre-measured ratios offer the best balance between performance and ease.
Pro Tips for a Successful DIY Epoxy Project
- Temperature matters: Apply between 60°F and 85°F for optimal curing.
- Test small areas: Try a small section before coating the entire floor.
- Work in teams: One person rolls while another mixes—epoxy sets fast.
- Ventilate properly: Keep windows open and fans running to minimize fumes.
- Plan ahead: Once you start, you can’t stop midway.
By following these tips, your epoxy project will go smoothly from first step to final result.
The Hard Part: Patience
The hard part of any epoxy coating job isn’t rolling the paint—it’s waiting for the curing process. Rushing can ruin days of work. Be patient, and don’t walk on or wash the floor until fully hardened.
Remember: even if your floor feels dry after 24 hours, full chemical curing can take up to seven days.
Safety Considerations
Epoxy products can produce hazardous solvent fumes, especially if you’re using acid wash or solvent-based systems. Always wear a respirator, keep away from open flames, and store materials safely out of reach of children or pets.
If you’re unsure about working with muriatic acid, opt for a safer etching solution from your local home improvement store instead.
Frequently Asked Questions About DIY Basement Floor Epoxy Coating
What are the benefits of using epoxy on a basement floor?
Epoxy creates a durable, moisture-resistant barrier that protects concrete from stains, mold, and cracking. It also gives the floor a polished, professional finish that’s easy to clean and maintain—making it one of the best upgrades for finished or unfinished basements.
Can you epoxy a basement floor yourself?
Yes, most homeowners can successfully apply epoxy with basic tools and careful preparation. A quality DIY epoxy kit includes all necessary components, and the project typically takes a weekend from start to finish.
How should I prepare a concrete basement floor before applying epoxy?
Clean the floor thoroughly, repair any cracks, and etch the concrete using muriatic acid or an eco-friendly etching solution. The surface must be completely dry and free of sealers or paint to ensure proper adhesion.
Can epoxy be applied to a damp or humid basement?
No. Moisture is the leading cause of epoxy failure. Always test for moisture with a simple plastic sheet test and use a dehumidifier for 24–48 hours before applying the coating.
How long does basement epoxy take to dry and cure?
Epoxy floors are usually walkable within 24 hours but require 5–7 days to fully cure. Avoid placing heavy items or exposing the floor to water during that time.
How much does a DIY basement epoxy floor cost?
Expect to spend $3–$6 per square foot, depending on the product, number of coats, and optional decorative flakes or topcoat. A 500 sq ft basement typically costs between $250 and $600 in materials.
What are the most common DIY epoxy mistakes to avoid?
– Skipping etching or poor surface prep
– Mixing Parts A and B too early or in the wrong ratio
– Applying epoxy in high humidity or extreme temperatures
– Walking on or recoating before it cures
– Using epoxy over paint or sealed concrete
Avoiding these ensures a smooth, long-lasting finish.
Is epoxy slippery when wet?
It can be. To increase traction, mix a non-slip additive such as silica sand or aluminum oxide into the topcoat—especially in laundry areas or basements prone to moisture.
How long will an epoxy basement floor last?
With proper prep and maintenance, epoxy coatings last 10–20 years. Keep the surface clean, dry, and reapply a clear coat every few years to maintain shine and protection.
How do I clean and maintain an epoxy floor?
Sweep regularly and mop with mild detergent and warm water. Avoid acids, bleach, or abrasive pads. For scuffs or dullness, apply a light coat of compatible floor wax or clear epoxy.
What is the best epoxy for basement floors?
Choose a 100% solids epoxy or water-based epoxy from reputable brands like Rust-Oleum, Epoxy-Shield, or Quikrete. Water-based kits are easier for DIYers, while 100% solids formulas offer professional-grade durability.
Can I add color or decorative flakes to epoxy?
Yes. Decorative color flakes, quartz, or metallic pigments can be sprinkled on wet epoxy before the topcoat for a custom look. This also adds slip resistance and hides imperfections.
What safety precautions should I take when applying epoxy?
Work in a well-ventilated area, wear gloves, safety glasses, and a respirator. Avoid open flames or smoking near epoxy products, and dispose of rollers or rags properly after use.
How does epoxy compare to other basement floor options?
Epoxy Coating – Excellent durability, high moisture resistance, moderate cost ($3.00–$6.00)
Vinyl Plank – Good durability, moderate moisture resistance, slightly cheaper ($2.00–$4.00)
Painted Concrete – Least durable, low moisture resistance, lowest cost ($1.00–$2.00)
Polished Concrete – Extremely durable, high moisture resistance, premium price ($5.00–$10.00)
What should I do if my epoxy starts to peel or bubble?
Peeling means the surface wasn’t properly prepped or moisture is seeping underneath. Sand or grind off the affected area, re-etch, and reapply a thin, even coat following the manufacturer’s cure times.
In Closing
A DIY epoxy floor project may seem intimidating, but with proper surface preparation, patience, and attention to detail, it’s a great way to give your basement a sleek, durable finish that rivals professional installations.
Whether you want a solid color shine, a decorative flake design, or a matte finish, your basement will instantly look cleaner and more modern.
So grab that diy epoxy kit, roll up your sleeves, and take the first step toward transforming your concrete basement floors. With the right materials and a bit of time, you’ll end up with a floor that’s not only beautiful but built to last.
Good luck—and enjoy your new epoxy finish!


Pingback: How Long Does Epoxy Basement Flooring Last | Basement Repair Guide
Pingback: Best DIY Basement Flooring Options for Every Budget
Pingback: Epoxy Concrete Floor DIY: Dos and Don’ts for a Smooth Basement Finish
Pingback: How to Fix a Crumbling Concrete Basement Floor