
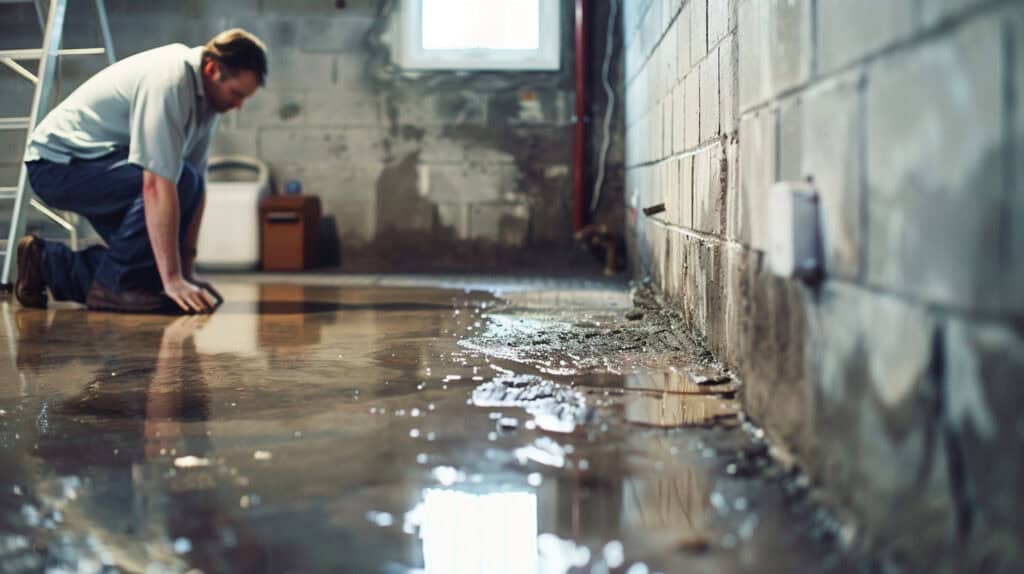
Basement waterproofing is crucial to protect your home’s foundation and keep your living space dry and healthy. When the waterproofing system starts failing, your basement will give you warning signs. By spotting early signs of foundation water issues and moisture problems, homeowners can address them before they escalate into major structural damage or costly basement water damage repair. Below, we explore the most common signs that your basement may need waterproofing repairs, along with why they occur, their consequences, and practical tips for homeowners. The tone here is strictly educational – our goal is to help you recognize problems early and take action (not to sell you anything).
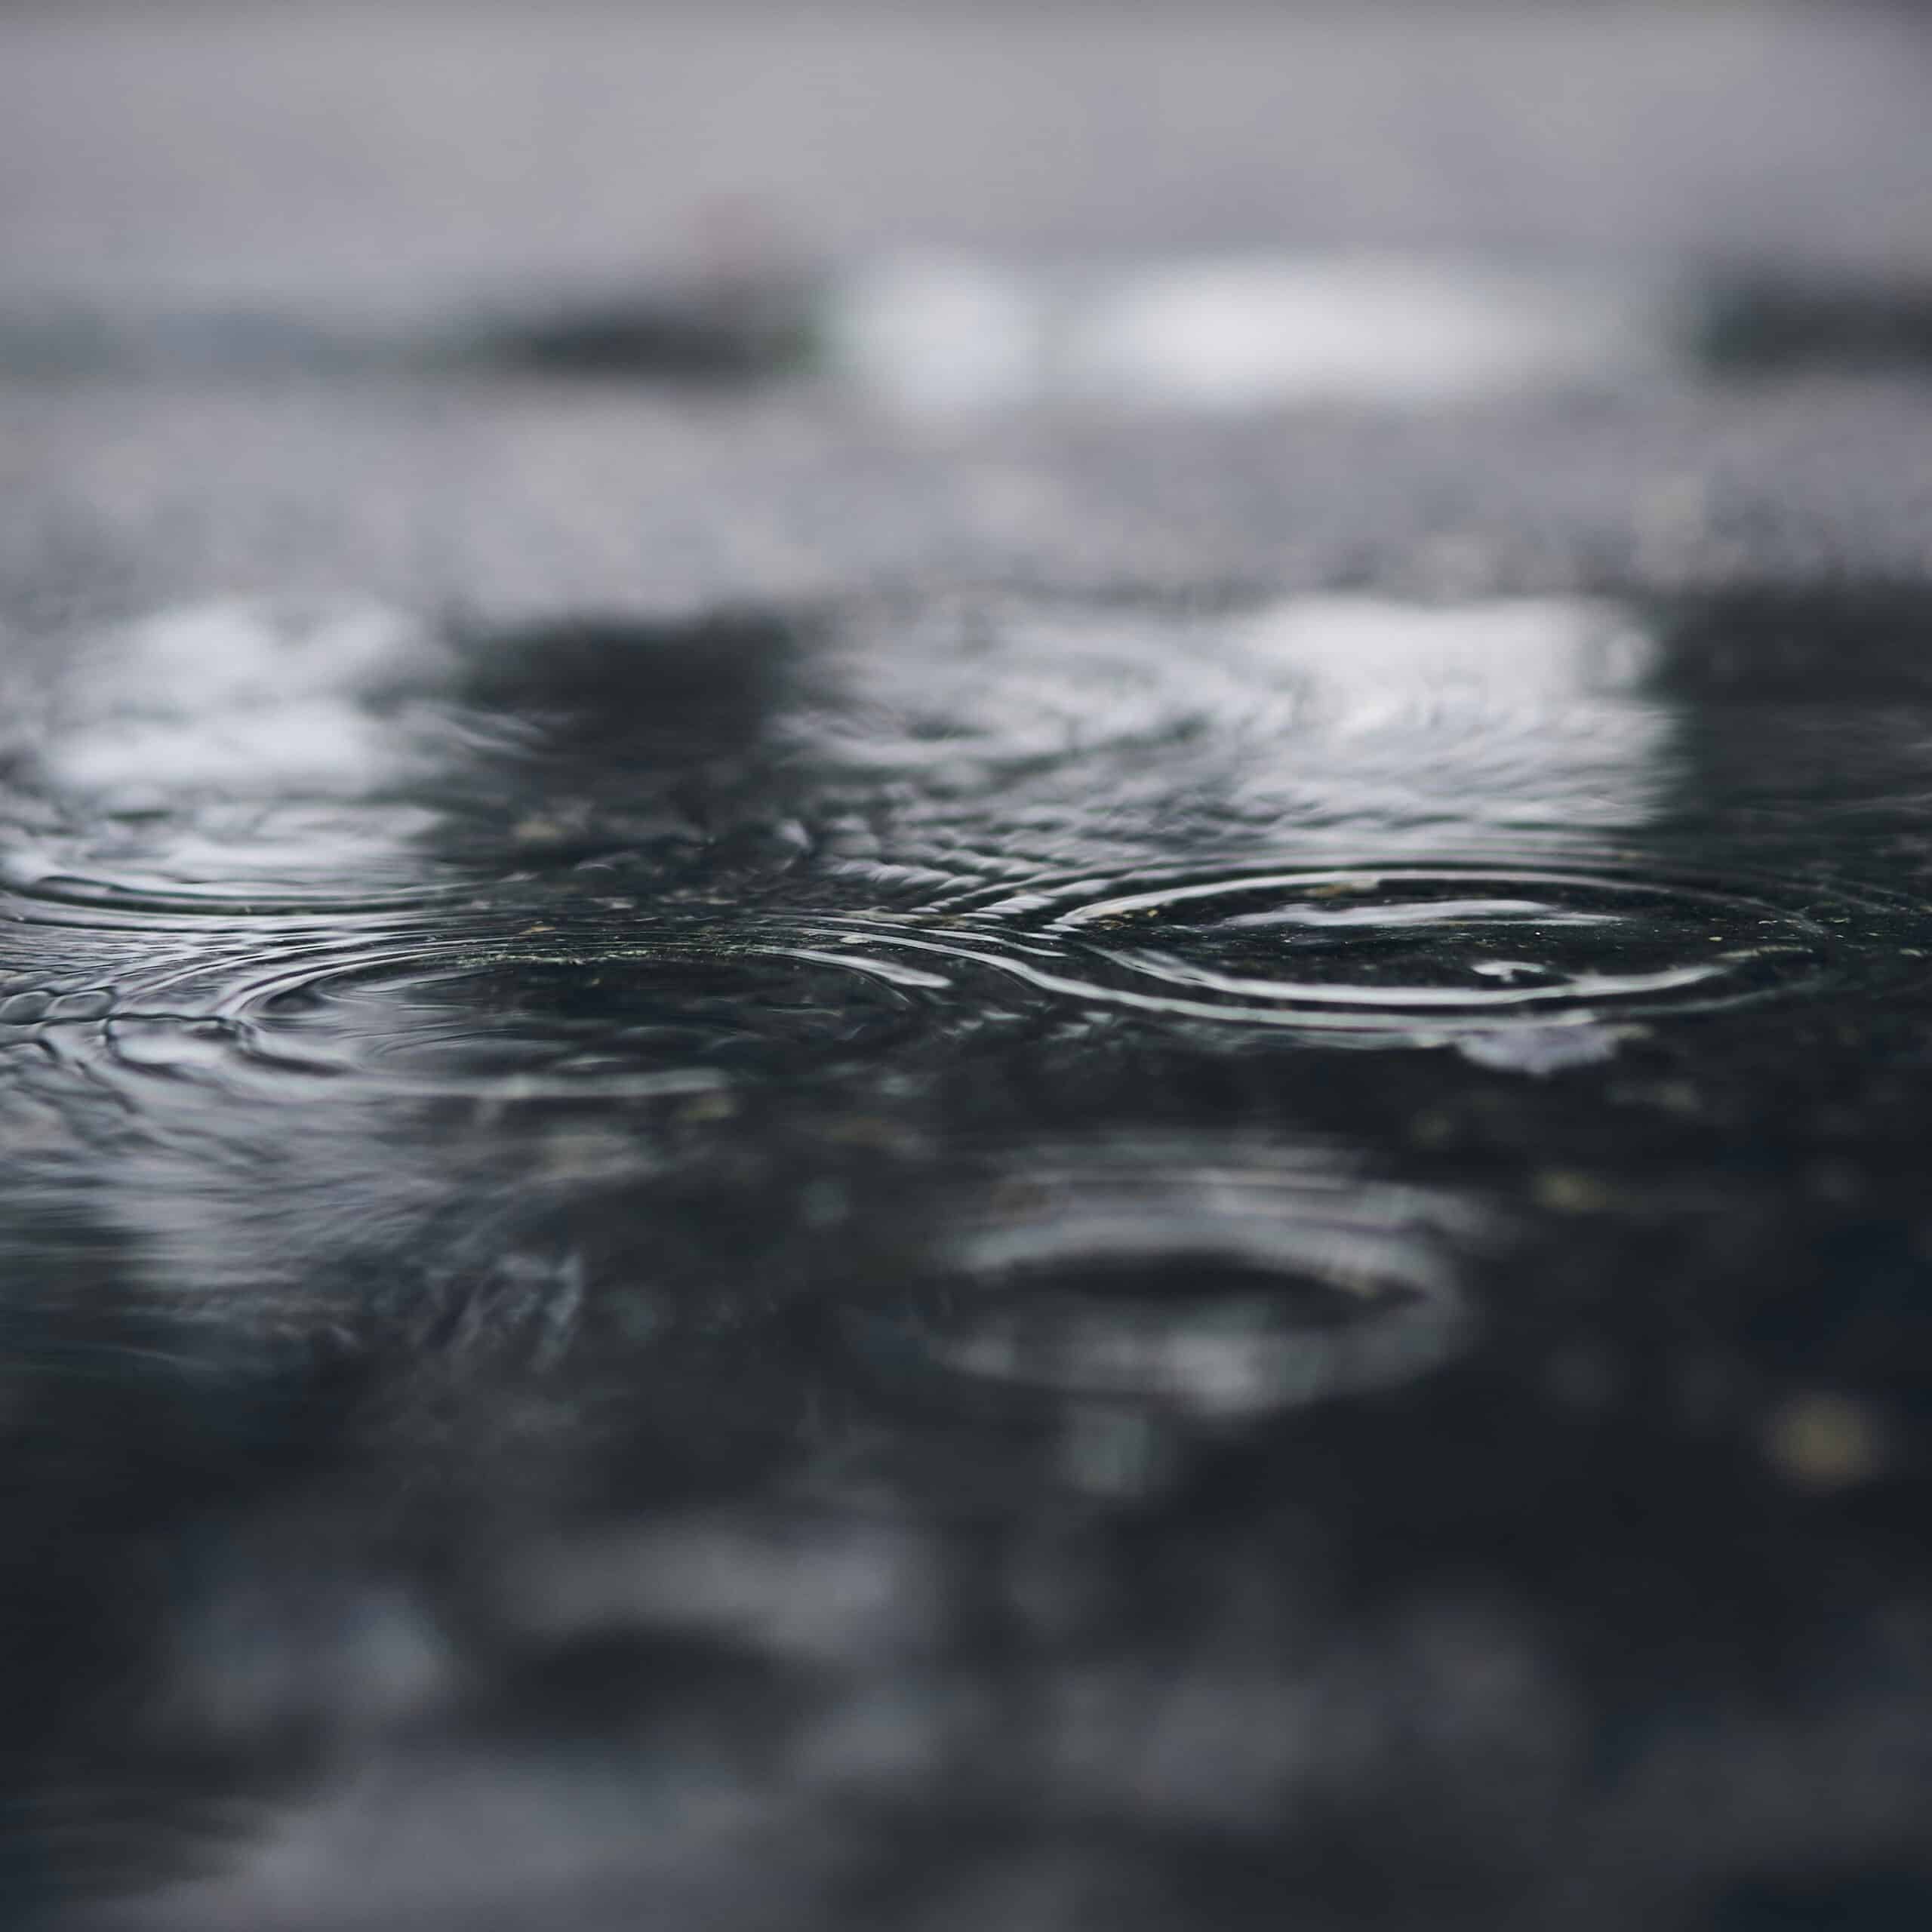
Why Early Detection Matters: Ignoring small signs of water intrusion can lead to severe problems. Persistent moisture can cause mold growth (a health hazard), rot structural elements, and even undermine your foundation. Repairs for advanced damage – like fixing a compromised foundation or extensive mold remediation – can be extremely expensive. It’s far better to catch issues when they’re minor. Even small puddles after a rainstorm can indicate a bigger issue, so don’t shrug off any of the signs below. Stay alert to these red flags to protect your home’s value and your family’s safety.
1. Musty Odors and Mold Growth
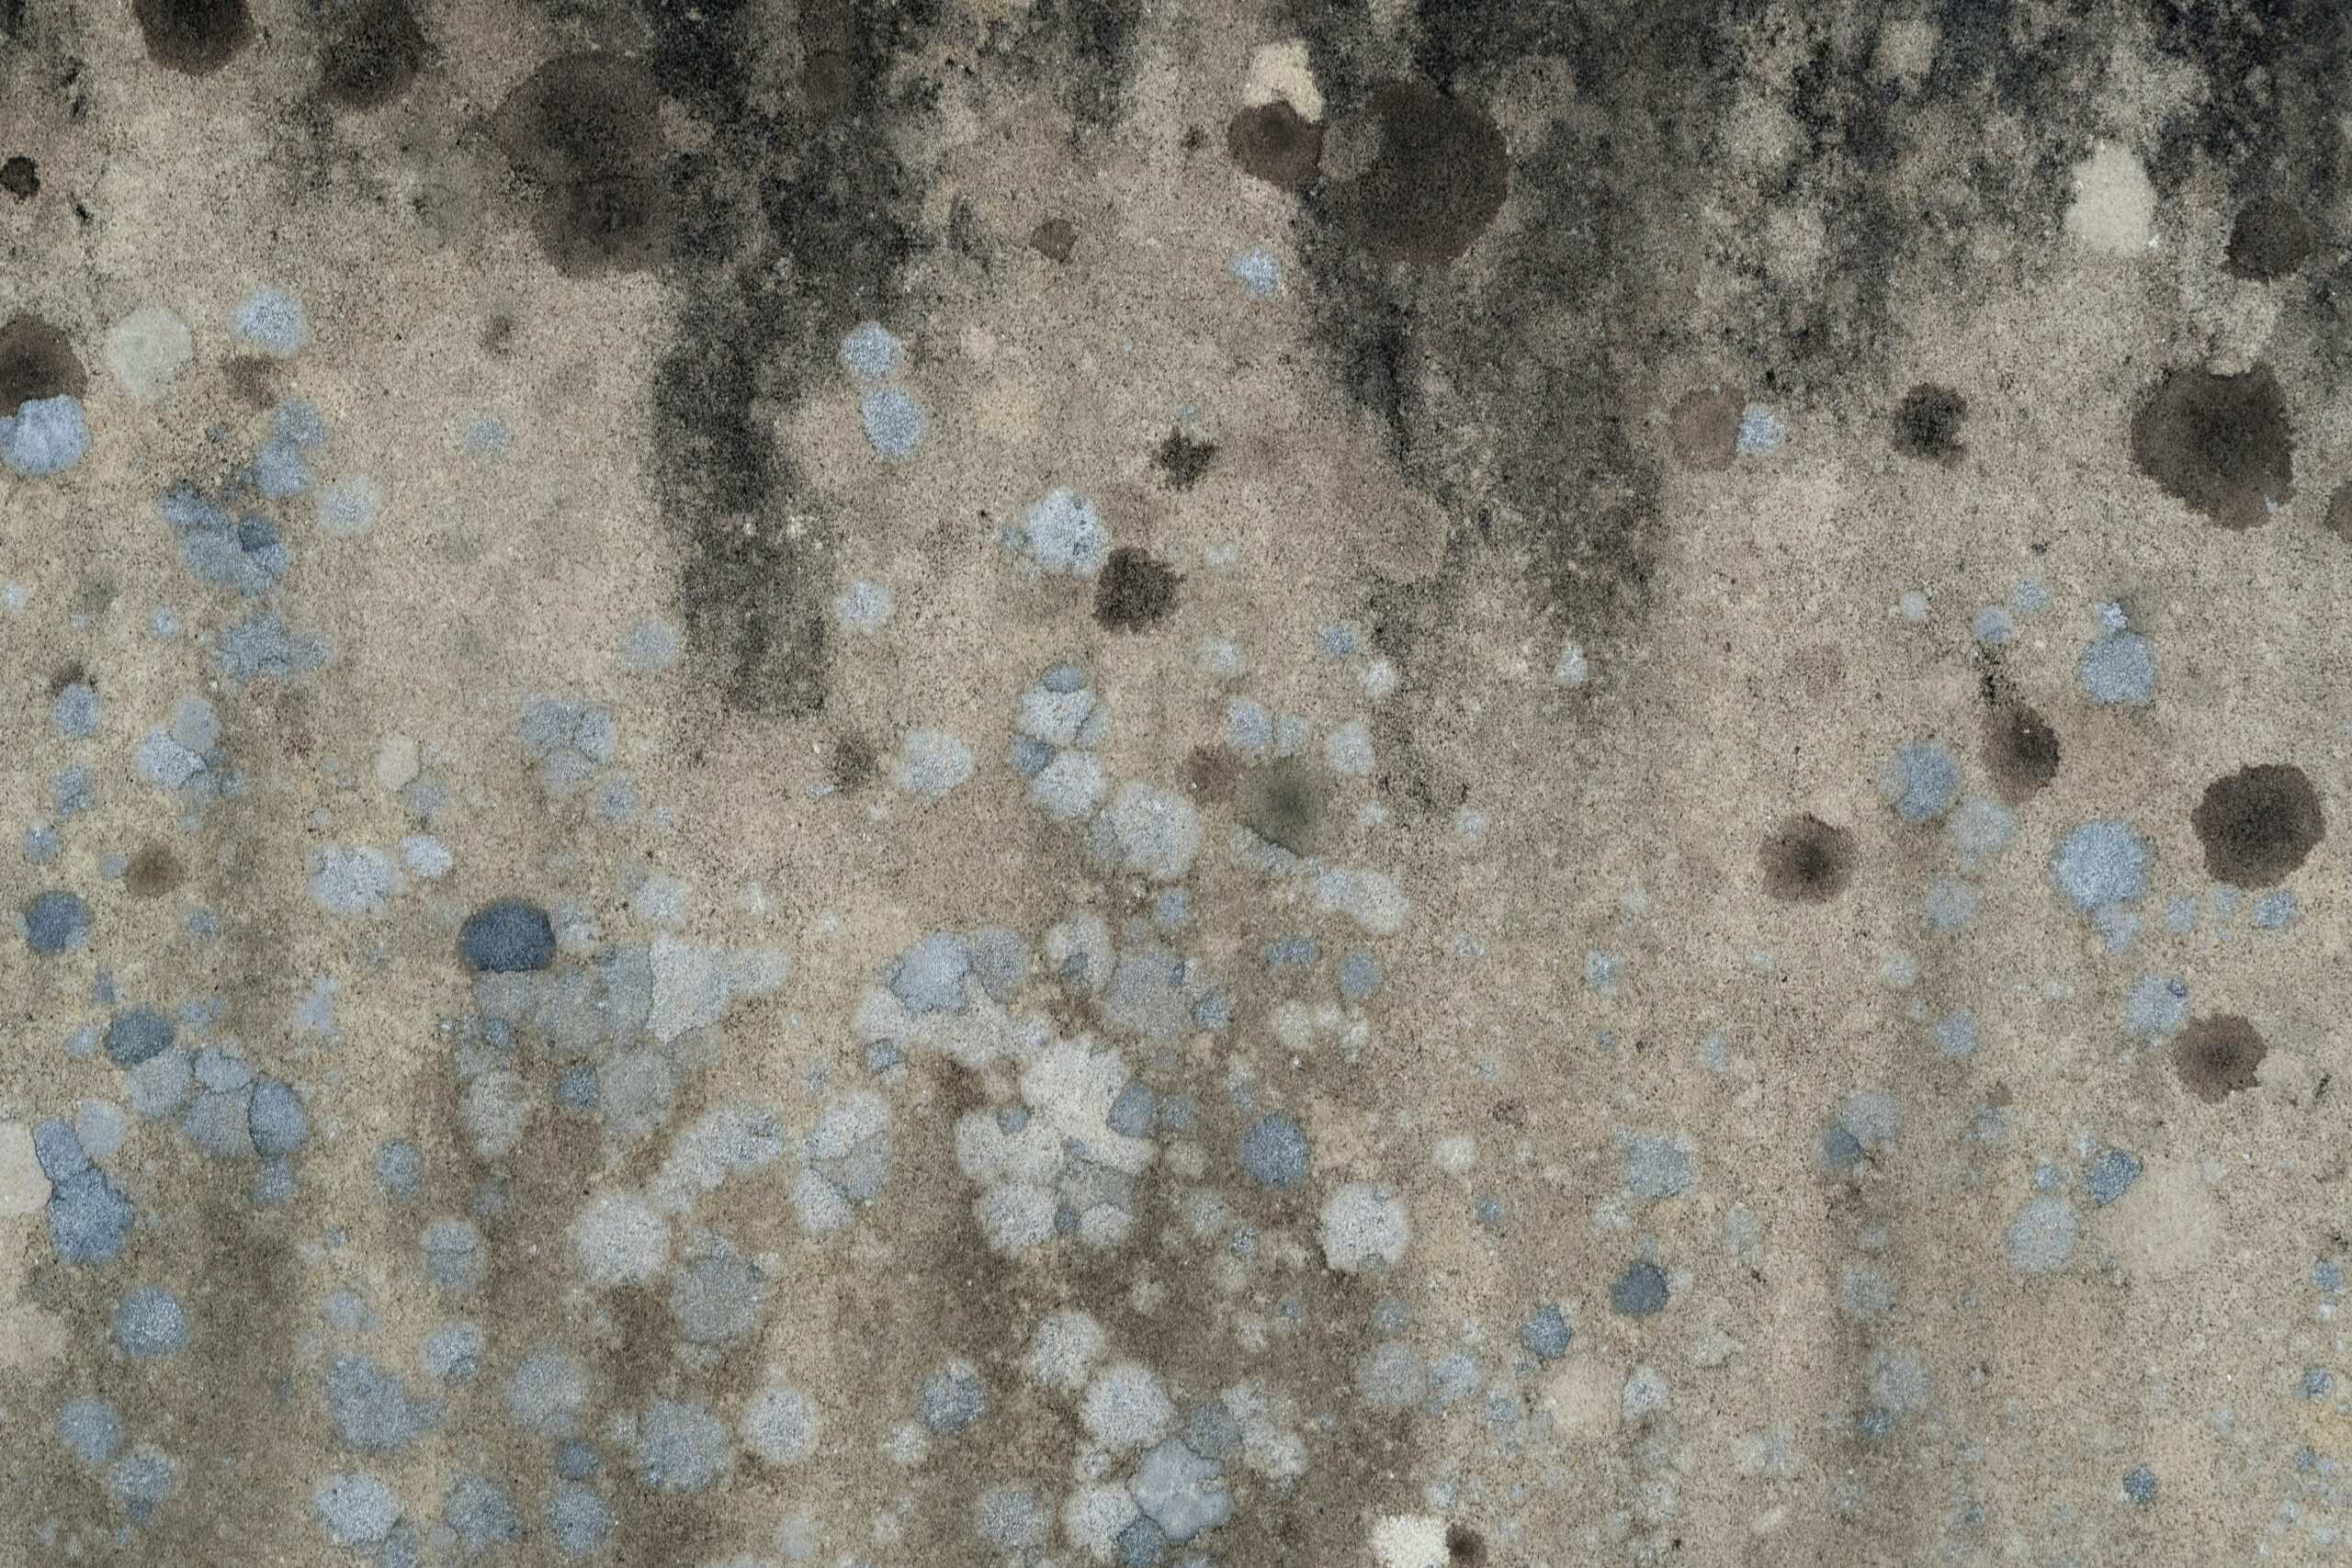
One of the first signs of a basement water issue is a musty odor. If your basement has that dank, mildew smell (often described as the scent of a damp old locker or wet wood), it’s a clear indicator of excess moisture. Basements should not smell musty; a persistent odor means water is lurking somewhere, even if you don’t see it outright. Often, this goes hand-in-hand with mold or mildew growth. You might notice fuzzy or discolored patches on walls, corners, or cardboard boxes—classic signs of mold infestation.
- Why It Happens: Mold and mildew thrive in dark, damp environments. When water seeps through walls or floors, or when humidity stays high, it creates the perfect breeding ground for mold spores. The musty smell is basically the odor of mold and decaying organic material. Even if you can’t spot mold on surfaces, a strong mildew smell means mold is likely hidden (for instance, behind drywall or under carpets). Some homeowners mistakenly believe a musty basement smell is “normal,” but it’s actually a warning sign of a moisture problem.
- Consequences: Mold growth is not just an aesthetic or minor issue—it can damage whatever it grows on and pose health risks. According to the EPA, indoor molds produce allergens and irritants; inhaling mold spores may trigger allergic reactions or even asthma attacks in sensitive individuals. Over time, unchecked mold can spread to wood framing, drywall, or stored items, leading to rot and foul odors throughout the house. The longer you let that musty odor linger, the more mold colonies can expand, increasing cleanup costs and health hazards.
- What to Do: Don’t just cover up smells with air fresheners—tackle the source. Inspect your basement thoroughly for any visible mold. Check in corners, behind furniture, and around insulation. If you find moldy areas, clean small patches with appropriate mold cleaner (wear protective gear!), but be aware that mold will keep returning until the moisture source is fixed. Improve ventilation and consider using a dehumidifier to reduce humidity (aim for around 50% relative humidity or lower in the basement). A quality basement dehumidifier can pull excess moisture from the air, helping to dry out walls and discourage mold. However, a dehumidifier alone is not a cure-all. You’ll need to identify how water is getting in. Look for leaks, condensation, or cracks (as discussed later) and address those underlying causes. In short, a dry basement is a sweet-smelling basement – eliminate the dampness, and you eliminate the musty odor and mold.
Consider using a unit from our guide: Best Dehumidifier for Allergies to reduce moisture and keep your basement dry year-round.
2. Visible Water Seepage or Puddles
Have you ever walked into your basement after heavy rain and stepped in a puddle? Standing water or visibly wet areas in a basement are an obvious sign something is wrong. Even small puddles or damp spots along the floor edges signal that water is infiltrating when it shouldn’t. In some cases, you might notice active water seepage – for example, rivulets of water trickling down a wall, or a damp streak on the concrete floor where water is oozing in. Any unwanted water inside your basement is a red flag that your waterproofing defenses need attention.
- Why It Happens: There are several possible causes of water finding its way inside. A common culprit is poor exterior drainage – if gutters are clogged or downspouts dump water right near the foundation, that water can seep through basement walls. Cracks in the foundation or basement walls will also let water in during rain. Sometimes, the issue is hydrostatic pressure: when the soil around your foundation becomes saturated, the water in the soil pushes hard against the basement walls and floor. This water pressure can literally force water through tiny cracks and gaps. Over time it can even create new cracks or widen them. (When soil stays soaked, the hydrostatic pressure on foundation walls increases – this pressure can result in cracks or bowing walls as water forces its way through.) Other sources include failing sump pumps (if you have a sump pump that isn’t working or gets overwhelmed, water can back up) or plumbing leaks (always rule out something like a leaky water pipe or water heater).
- Consequences: The dangers of water pooling in your basement are significant. First, there’s immediate damage to anything on the floor – furniture, carpeting, electronics, or storage boxes can be ruined by even a minor flood. Water soaking into the concrete floor or walls can weaken the materials over time and promote mold (tying back to that musty odor and health issues). Persistent seepage can also erode the soil under your foundation if it’s exiting through cracks, potentially leading to settlement. If a puddle is due to a one-time plumbing leak, fixing the pipe solves it. But if it’s groundwater coming in repeatedly, you could end up with major basement flooding in a big storm. Frequent water intrusion might mean you can’t finish your basement or use it for storage safely. Lastly, standing water invites pests (insects love a wet habitat) and can create a persistently damp environment even after the water dries, leading to high humidity. The Federal Emergency Management Agency (FEMA) estimates that even one inch of basement flooding can cause over $25,000 in damages. Preventative waterproofing is almost always cheaper than post-flood repair.
- What to Do: Don’t ignore even minor water intrusion. If you see a puddle, mop it up and then investigate immediately where it came from. If it happens during rain, inspect your gutters and downspouts – ensure they’re clear and channeling water at least 6–10 feet away from your foundation. Check the grading of soil around your house; the ground should slope away, not toward the foundation (a common homeowner oversight is failing to maintain this slope over time). If you suspect the water is entering through a wall or floor crack, you may need to seal that crack (more on cracks later) and potentially install or repair a drainage system. Many homes use interior drainage like a French drain and a sump pump to collect incoming water and pump it out before it puddles. Ensure your sump pump is functional: test it periodically, and consider a battery backup system if power outages are common during storms. For recurring seepage issues, it might be wise to call a basement waterproofing specialist to assess if you need improvements such as exterior waterproofing, a new interior drain tile, or foundation repairs to keep water out. Remember, even small leaks can grow – today it’s a damp floor, but in a year you might be dealing with a flooded basement if you don’t intervene.
Learn how to fix yard drainage in our article: French Drain vs Channel Drain: Best for Yard Drainage.
3. Damp Walls and Efflorescence (White Powder on Walls)
If your basement walls look or feel damp, or you notice a weird white, fuzzy or powdery substance on the concrete or masonry, you’re looking at efflorescence. Efflorescence is that chalky white residue often seen on basement walls or floors. Homeowners sometimes mistake it for mold because of its looks, but it’s actually mineral deposits. When water seeps through the concrete or block, it dissolves salts and minerals, then evaporates on the interior surface and leaves those salts behind as a white crust or powdery film. Moisture in basement walls will often reveal itself in this way.
- Why It Happens: Efflorescence = water intrusion. It only occurs when water is moving through your walls. The wall itself might not be visibly “wet” all the time; sometimes you only see the white residue or a faint discoloration. The causes of that moisture seepage can include tiny cracks or pores in the concrete, deteriorating exterior waterproofing, or simply high groundwater pressing moisture through the porous concrete (concrete is naturally somewhat porous). Capillary action can draw water upward as well, meaning moisture can wick through the wall or even up from the floor. For example, if your home sits in an area with a high water table or after heavy rains, groundwater can push into the basement structure. Efflorescence often shows up in older homes where the original waterproofing on the outside of the foundation has worn off, or where there’s poor drainage so that water consistently soaks the foundation. It can also happen if you run a dehumidifier aggressively in a basement with unsealed walls – you’re pulling moisture through the walls faster (this is a lesser-known oversight: using a dehumidifier without addressing wall sealing can sometimes increase efflorescence by drawing more water vapor through the masonry).
- What It Indicates: While efflorescence itself isn’t toxic or harmful to touch, it is a clear warning sign of excess moisture in your basement. In fact, efflorescence is often an early sign of a developing water issue. You might not have puddles (yet), but those white deposits prove that water is seeping through the wall. If left unchecked, that same moisture can lead to mold growth, deteriorating concrete or mortar, and even foundation damage over time. In other words, the salts are harmless, but the water causing them is a big deal. You might also notice that areas with efflorescence have a damp or chalky feel. If you tape a piece of aluminum foil to the wall for a day or two, you may find moisture on the inner side of the foil – a quick test some homeowners use to confirm damp walls.
- Homeowner Tips: Don’t just scrub off the white powder and forget about it. You can clean efflorescence with a stiff brush or a vinegar solution, but it will keep coming back until you stop the water intrusion. First, check outside: ensure your downspouts, gutters, and grading are all moving water away from the house (this cannot be overstated – exterior water management prevents most basement leaks!). Next, consider applying a masonry waterproofing sealant on the interior walls. Products like waterproofing paint or crystalline sealers can penetrate and help block moisture through walls. This can be a good DIY step for mild dampness. However, remember that interior sealants are a band-aid if the external cause isn’t fixed – they might slow down moisture but not withstand heavy water pressure. If efflorescence keeps recurring or walls are persistently damp, you likely need a more robust solution such as exterior waterproofing (excavating and applying new waterproof membrane on the foundation exterior) or installing an interior drainage system to relieve the water pressure. It’s also wise to run a dehumidifier to reduce indoor humidity, which can help dry out wall surfaces after you’ve addressed the main water source. Bottom line: efflorescence is your basement saying “I’m getting wet” – don’t ignore it. It’s much easier to re-seal a wall or fix drainage now than to deal with crumbling concrete or mold later.
4. Peeling Paint or Bubbling Drywall
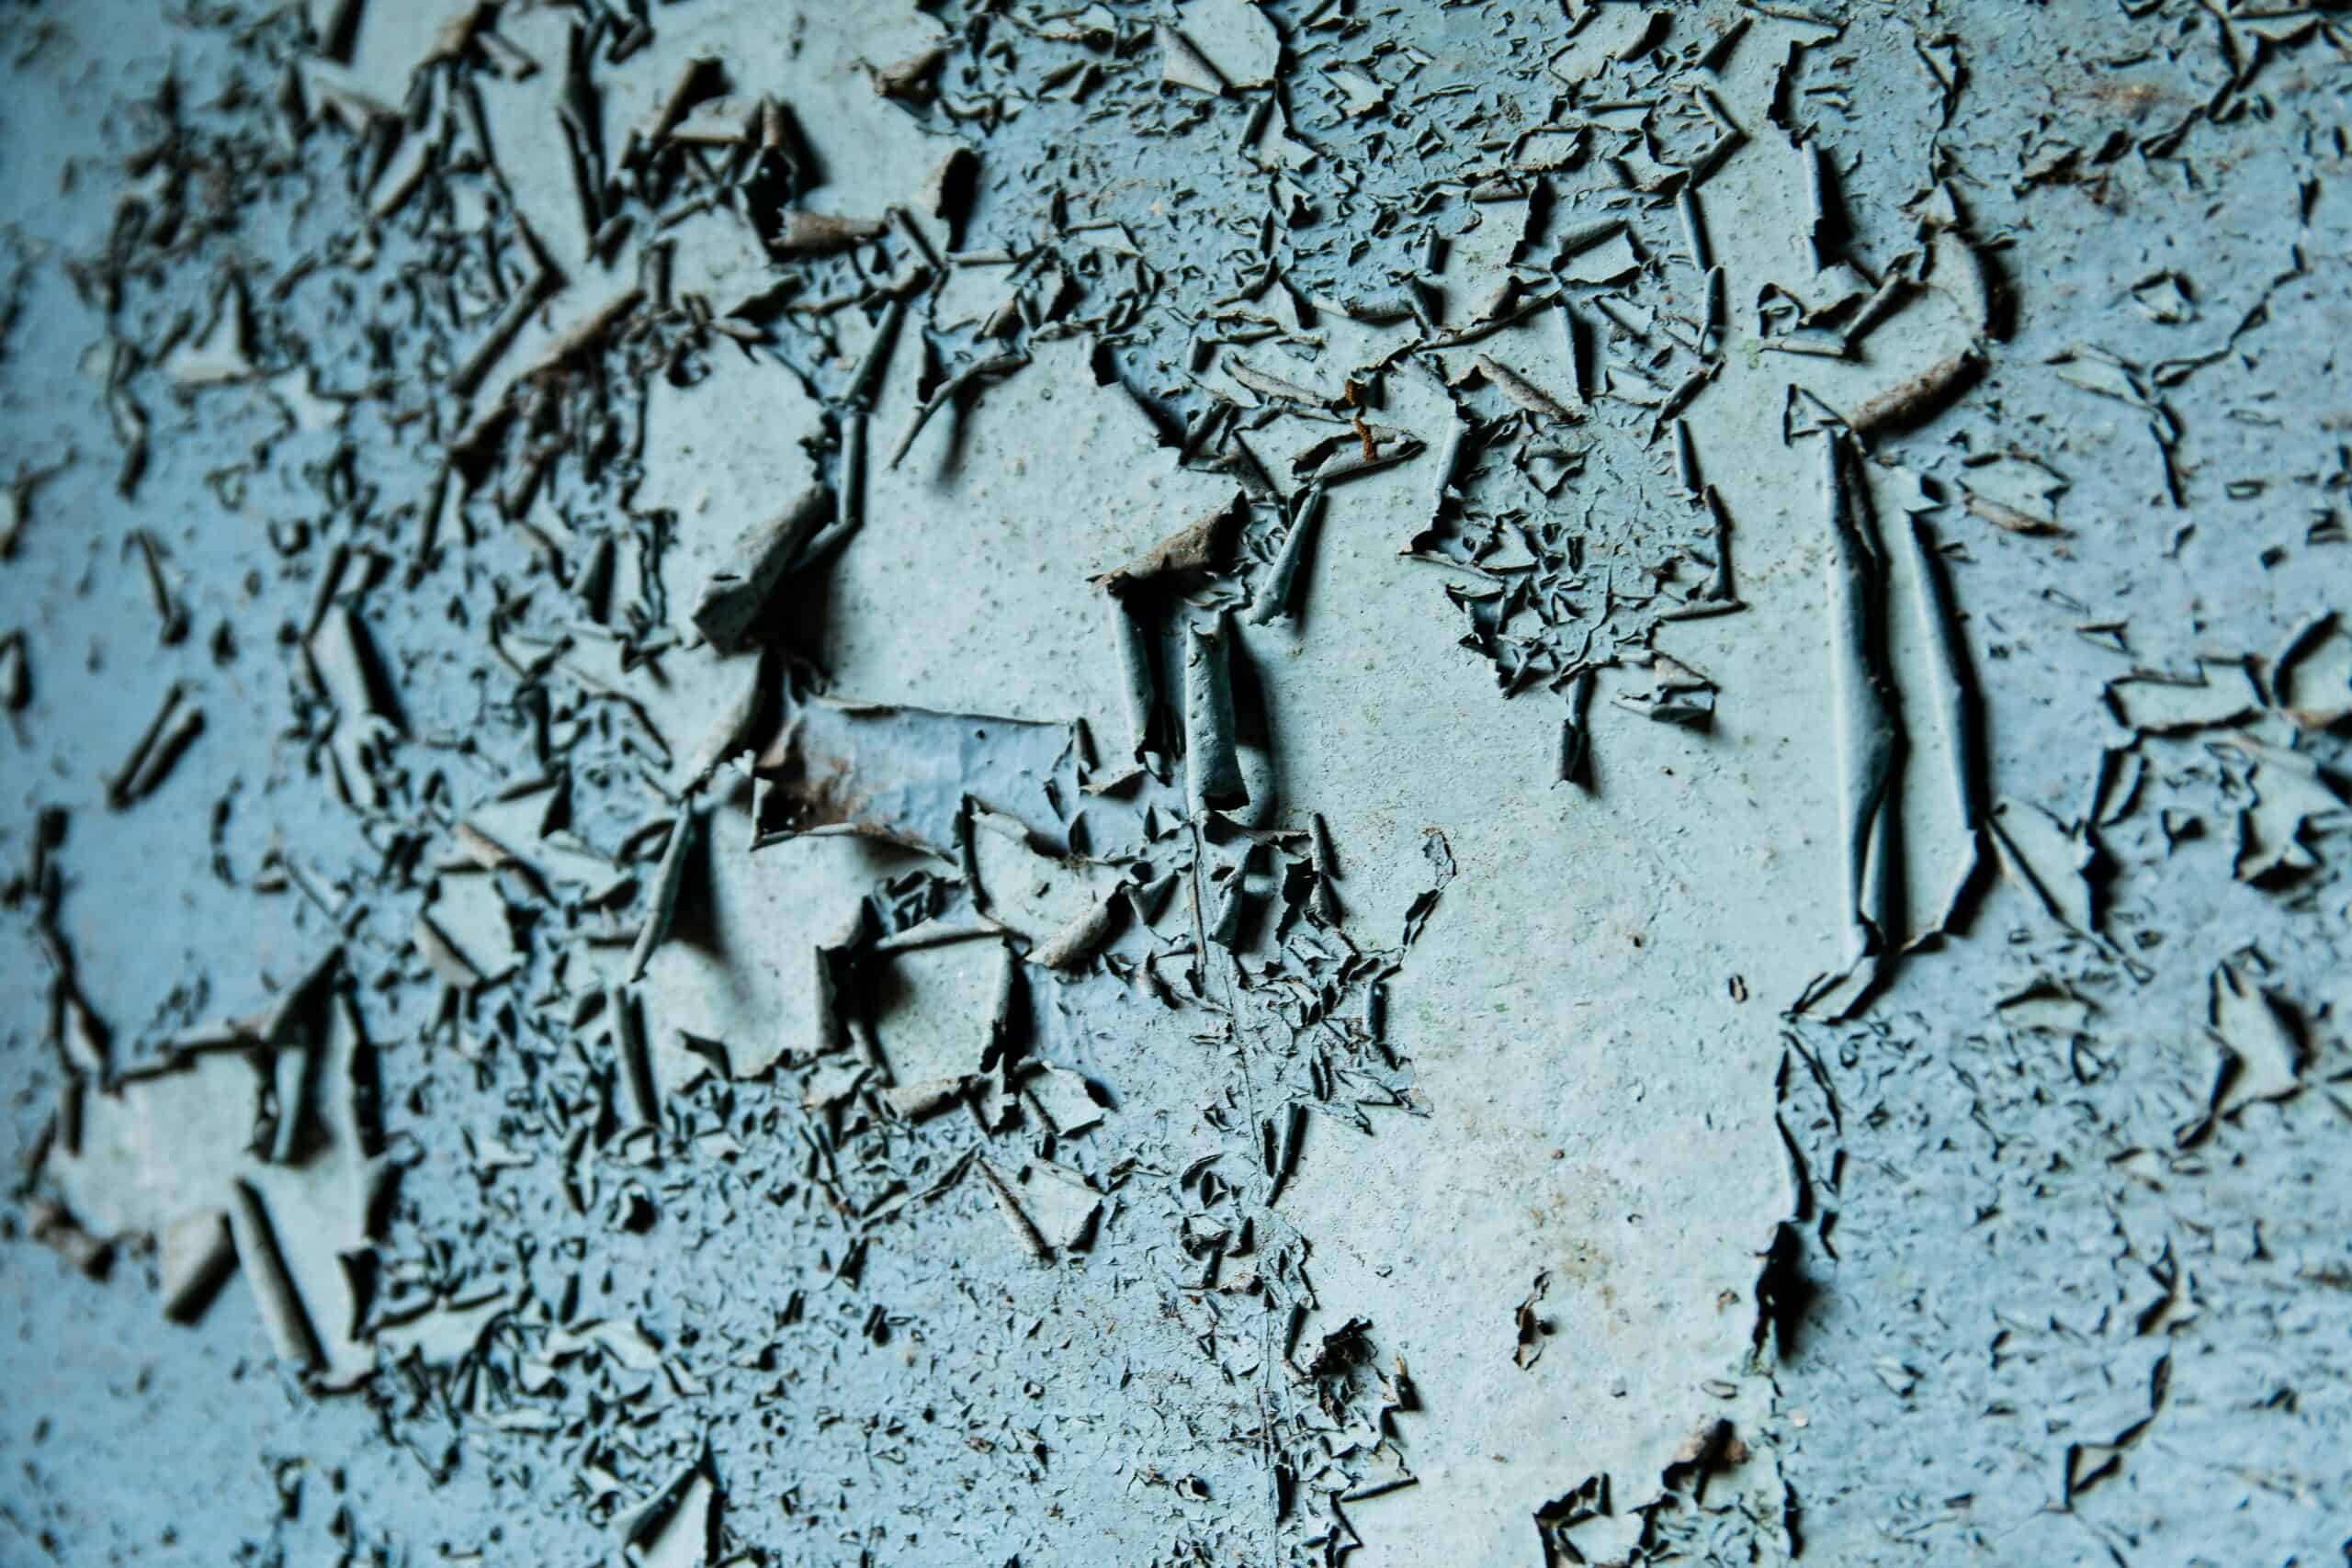
If your basement walls are finished (painted, drywalled, or have wallpaper), pay attention to the condition of those finishes. Peeling paint, blistering paint bubbles, or curling wallpaper are classic signs that moisture is present behind the scenes. In a well-dry basement, paint adheres just fine and walls stay intact. But when water or constant dampness invades, it will cause paint to lose adhesion and peel off in flakes or form bubbles. Drywall might get soft, warp, or crumble at the bottoms, and wallpaper can get discolored and start separating at the seams.
- Why It Happens: Water and paint don’t mix! When moisture seeps through a wall (or high humidity saturates the surface), it pushes against paint and drywall from behind. The latex or oil paint layer will then lift or bubble because it’s no longer bonded tightly to the damp surface. You might see bubbling in paint while it’s still relatively new, or patches of paint coming off revealing the concrete or plaster beneath. With wallpaper, the adhesive can fail when it gets wet, so the paper loosens. These issues often start near the floor or lower part of walls (closest to the moisture source), but can occur anywhere the water travels. Basement bathrooms or laundry areas with improper ventilation might also show peeling paint due to constant condensation. Another cause can be vapor drive: moisture vapor from outside pushes through the wall and accumulates at the impermeable paint layer, causing pressure that makes the paint separate. Homeowners sometimes make the mistake of just repainting over peeled areas without solving the moisture problem, only to see the new paint bubble up again.
- Consequences: Aside from looking unsightly, peeling paint or damaged drywall is a sign your basement’s materials are slowly being ruined. Over time, that dampness can rot any wooden framing behind drywall and rust metal fasteners. If you have fiberglass insulation in the wall, it can get moldy or lose its insulation value when wet. Plus, those cosmetic signs typically precede more serious damage – today it’s a paint bubble, but if water keeps coming, tomorrow it could be a puddle on the floor or toxic mold colonizing the drywall’s paper backing. If you ignore the warning and just continuously repaint, you’re inviting mold growth behind walls and worsening structural conditions. Remember: paint is basically the canary in the coal mine – when it starts peeling, the wall is crying out for help.
- What to Do: First, don’t paint over active moisture problems. Identify where the dampness is coming from. If it’s widespread dampness (no obvious leak), this again points to needing better waterproofing on the walls or improved interior drainage. Remove any damaged wall materials: scrape off peeling paint completely and cut out sections of drywall that are soft or moldy. You may need to let the wall dry out for several days (use fans and dehumidifiers) before making repairs. Once the source of moisture is addressed, use mold-resistant drywall or waterproof wall panels if you’re refinishing the basement – they can tolerate a bit of humidity better. For repainting, choose a waterproofing paint or sealer as a primer; these products are designed for basements and can help block minor moisture. However, if water intrusion is significant, even the best paint will fail, so focus on fixing the leak or seepage path. Common fixes include applying hydraulic cement to any visible small cracks or gaps (hydraulic cement expands as it cures, sealing leaks), and checking that exterior grading and drainage are correct (it all circles back to managing water outside). Also, consider vapor barriers: for example, if moisture is wicking through concrete, you might install a vapor barrier behind new drywall or use foam insulation boards that are not affected by moisture. These steps can prevent future paint peeling. In summary, treat peeling paint as a red flag – it’s telling you there’s water where it shouldn’t be. Find that water source and fix it, and you’ll save yourself from constantly repainting and potentially more serious repairs down the line.
You can find durable coating options in our guide on the Best Paint for Concrete Basement Walls.
5. Cracks in Walls or Floor
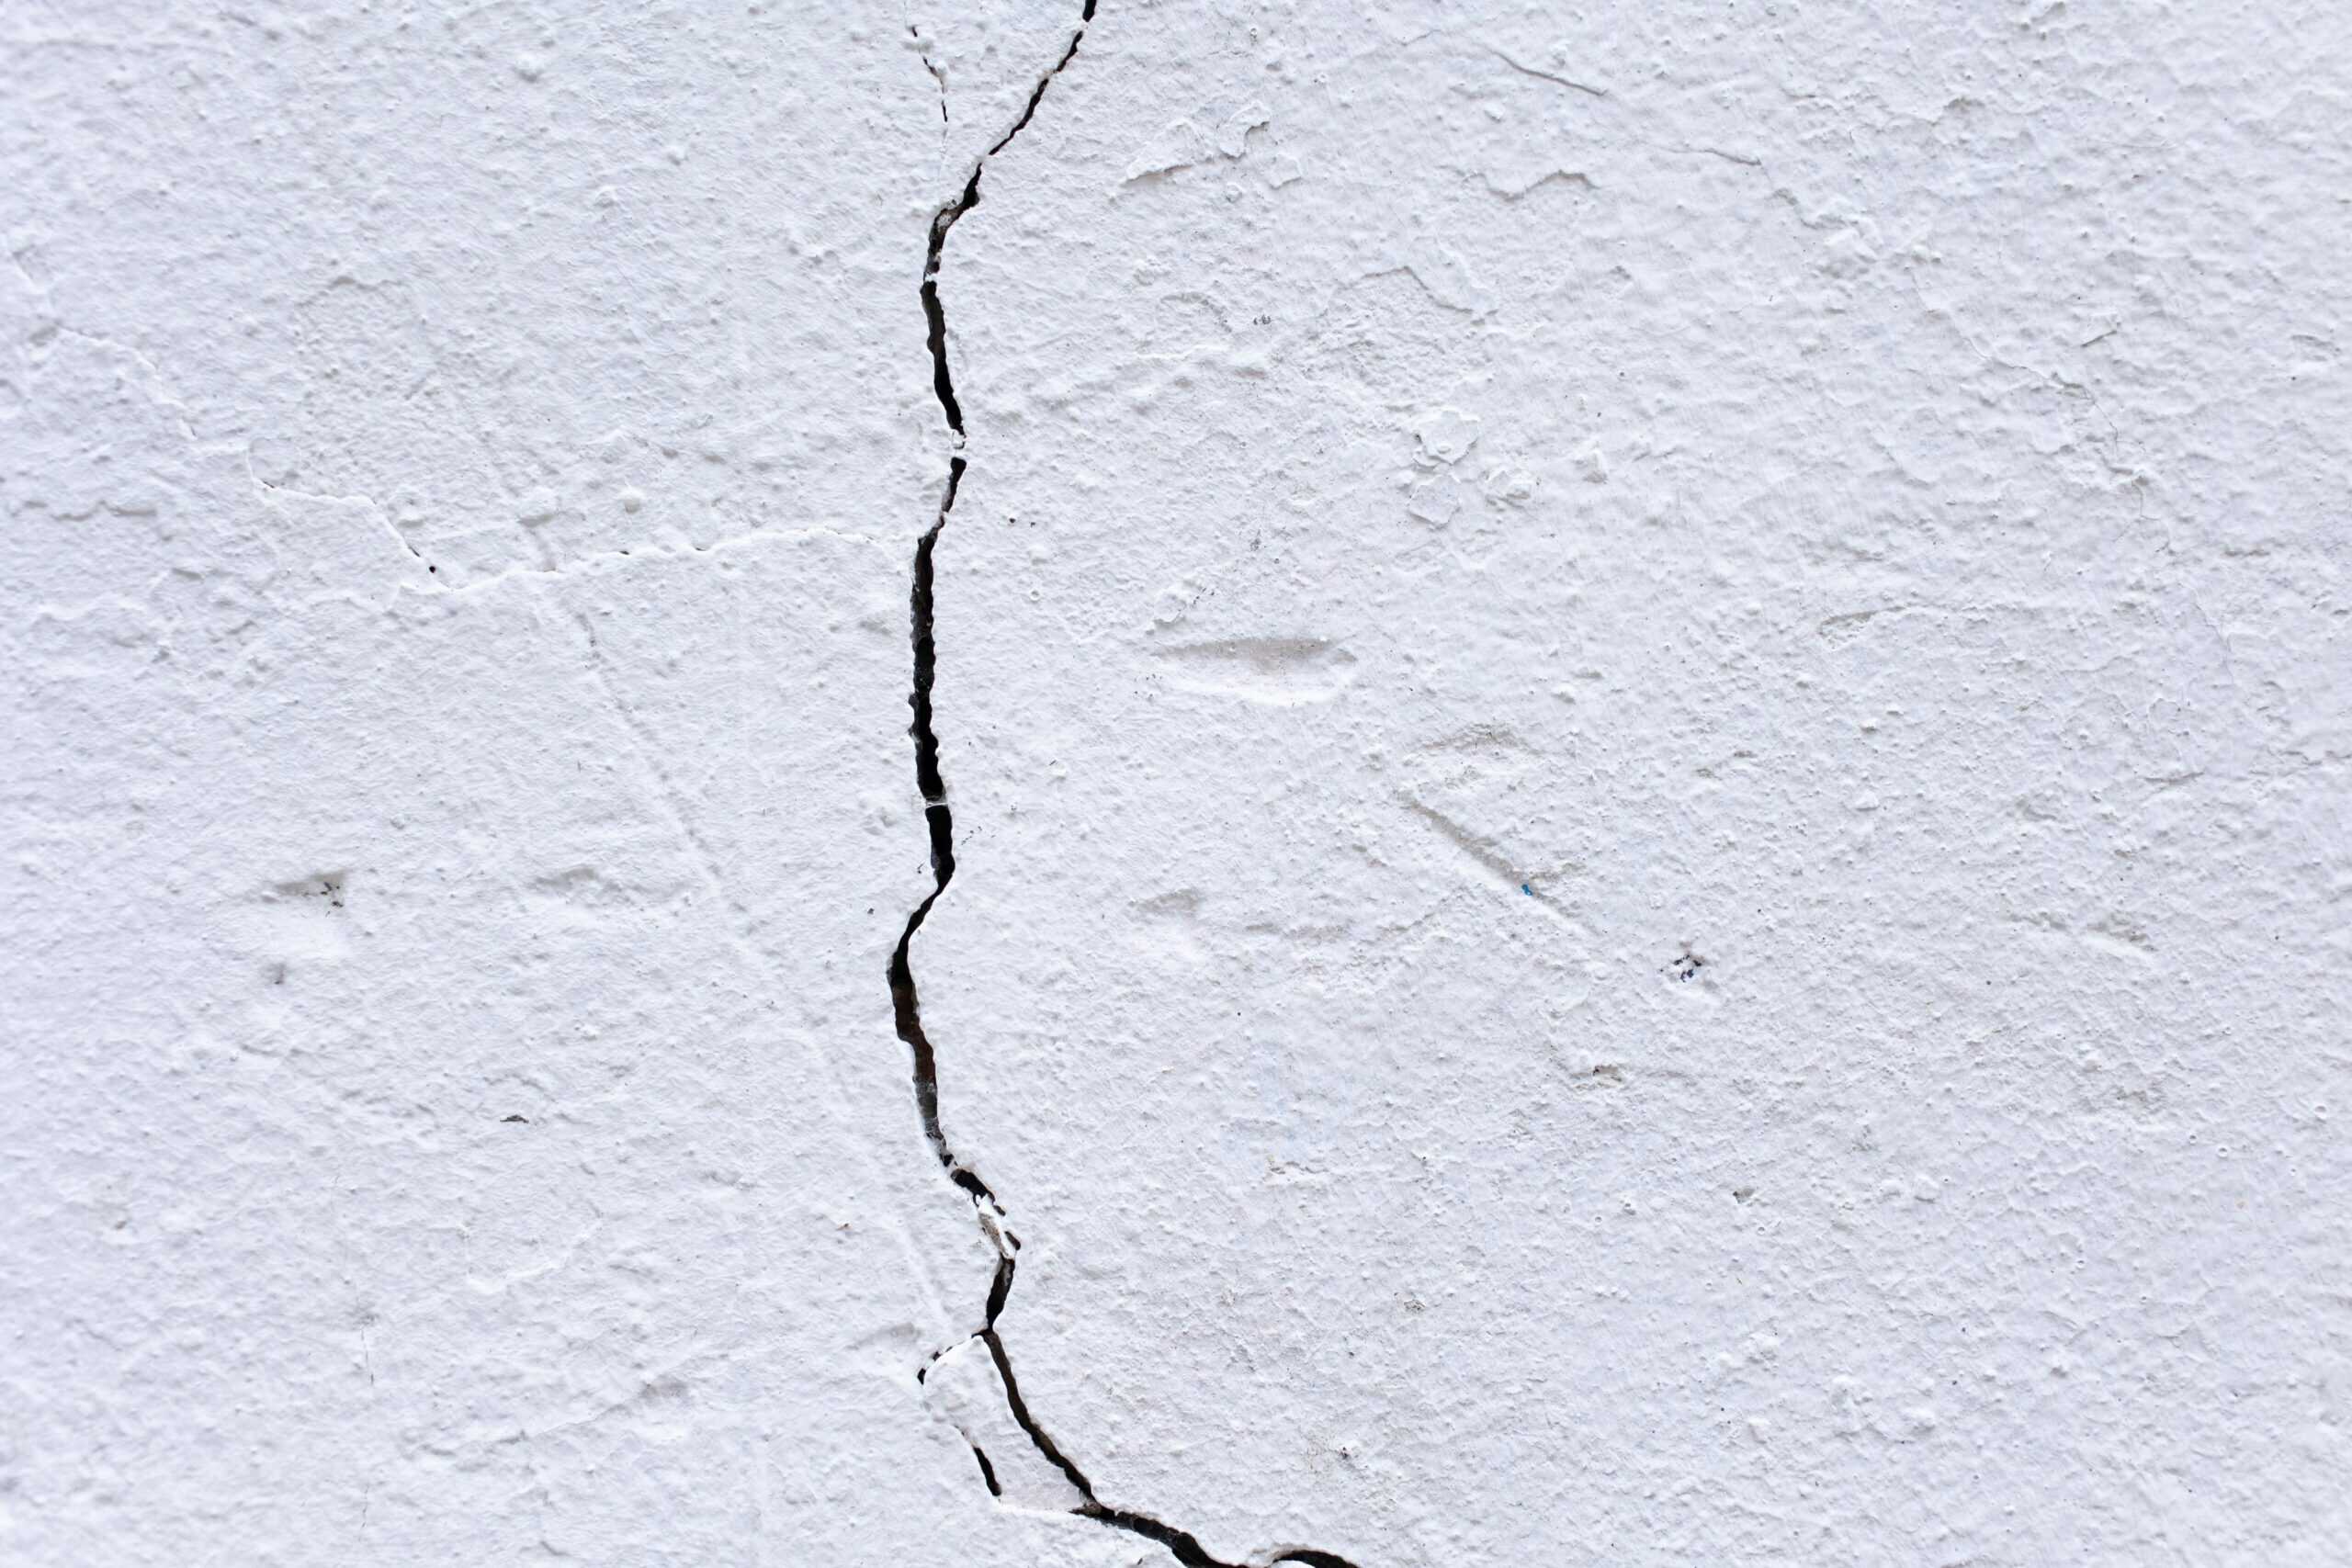
Not all basement water problems come with obvious water stains. Sometimes the structure itself gives hints, like cracks appearing in the walls or floor. Foundation walls (whether poured concrete or cinder block) can develop cracks that range from hairline thin to gaping wide. Likewise, your concrete basement floor might develop cracks. While small hairline cracks are common as concrete cures and a home settles, larger or growing cracks are a sign of trouble – especially if they start to leak water. Cracks often go hand-in-hand with water issues: water can cause cracks, and cracks let in water. One overlooked warning sign is a crumbling concrete basement floor, which often points to hydrostatic pressure or drainage failure. If you see cracking, it could mean your basement’s structural integrity or waterproofing is compromised and needs repair.
- Why It Happens: Cracks can form for a few reasons. One major cause is hydrostatic pressure (water pressure in the soil). As mentioned earlier, when soil around the foundation gets saturated, that water pushes hard on the walls. Over time, the pressure can cause the wall to develop horizontal or diagonal cracks, or cause the floor to crack from water pushing up from underneath. Settling of the foundation can also lead to cracks – as a house sinks slightly or shifts, the rigid concrete may crack to relieve stress. Additionally, temperature changes cause concrete to expand and contract; repeated freeze-thaw cycles can widen cracks or create new ones. Poor construction or curing can leave weak spots that crack later. Importantly, once a crack has opened, water will exploit it. Even a tiny fissure can let moisture seep through. In fact, if you see a crack that is damp or has water stains, that’s a sure sign water is coming through there during wet conditions. Also, efflorescence around a crack is a giveaway that water has been passing through. Some cracks (especially floor cracks) might be due to expansive soils under the slab or heaving from frost. Wall cracks that are wider at the top or bottom could indicate differential settling of the foundation. Any crack you can fit a coin into, or that shows offset (one side of the wall bulging or sinking relative to the other), is significant.
- Consequences: The presence of cracks makes your basement inherently more vulnerable to water. During the next heavy rain or snowmelt, each crack is like an open door for water to sneak in. Over months and years, these cracks can widen if the underlying cause isn’t addressed. What starts as a small leak can turn into a stream of water or even a flood if a crack suddenly enlarges. Structurally, some cracks (like horizontal cracks in a wall) can indicate that a foundation wall is under severe stress and at risk of bowing or failing. Even vertical cracks, if wide, can mean parts of the foundation are moving. Aside from water entry, cracks reduce your home’s insulation (air and moisture can come through) and can be entry points for insects. If you finish your basement without repairing cracks, you might trap a serious problem behind drywall. Worst-case scenario, ignored foundation cracks could lead to significant foundation repairs like underpinning or wall reconstruction later. At the very least, you’ll deal with chronic leaks and the resulting mold and damage if cracks are not sealed.
- What to Do: Inspect and monitor any cracks you find. Mark the ends of a crack with pencil and date it, or use tape, to see if it’s growing over time. For hairline cracks that are not leaking, you can use a DIY concrete crack repair kit – these typically involve injecting epoxy or polyurethane foam into the crack to seal it. Epoxy injections can bond the concrete back together and stop water, while polyurethane foams can flex a bit and are great for moving cracks or sealing against water. Clean the crack thoroughly and follow the kit instructions. Many homeowners successfully seal small cracks this way, which can buy you time and prevent minor leaks. However, if a crack is actively leaking water whenever it rains, or if it’s larger than ~1/8 inch (3 mm) wide, it’s wise to get professional evaluation. There could be an underlying issue like a settling foundation or excessive hydrostatic pressure. Professionals might perform foundation crack repair by injecting commercial-grade epoxy or installing carbon fiber strips for stabilization if needed. If wall cracks are accompanied by bowing (see next section) or other structural concerns, more extensive repairs like wall anchors or underpinning might be recommended. Also, consider relieving the water pressure that caused the crack: ensure outside water is directed away (yes, again with the drainage — it’s that important!), and consider interior drainage or a sump system to lower the water table around your basement. By fixing cracks early, you not only stop current leaks but also reinforce your foundation against future problems. Think of crack repair as patching the holes in your ship’s hull – you want those sealed before the next storm hits.
Pro Tip: After sealing a crack, keep an eye on it in subsequent seasons. If you notice new efflorescence or dampness along the sealed crack, it might mean water is still finding a way or the seal didn’t hold, indicating a bigger issue. Never assume a crack repair is “set and forget” if the forces causing it (water pressure, etc.) aren’t addressed.
See our related guide: Vertical vs. Horizontal Foundation Cracks to learn which cracks are structural concerns.
6. Bowing or Buckling Foundation Walls
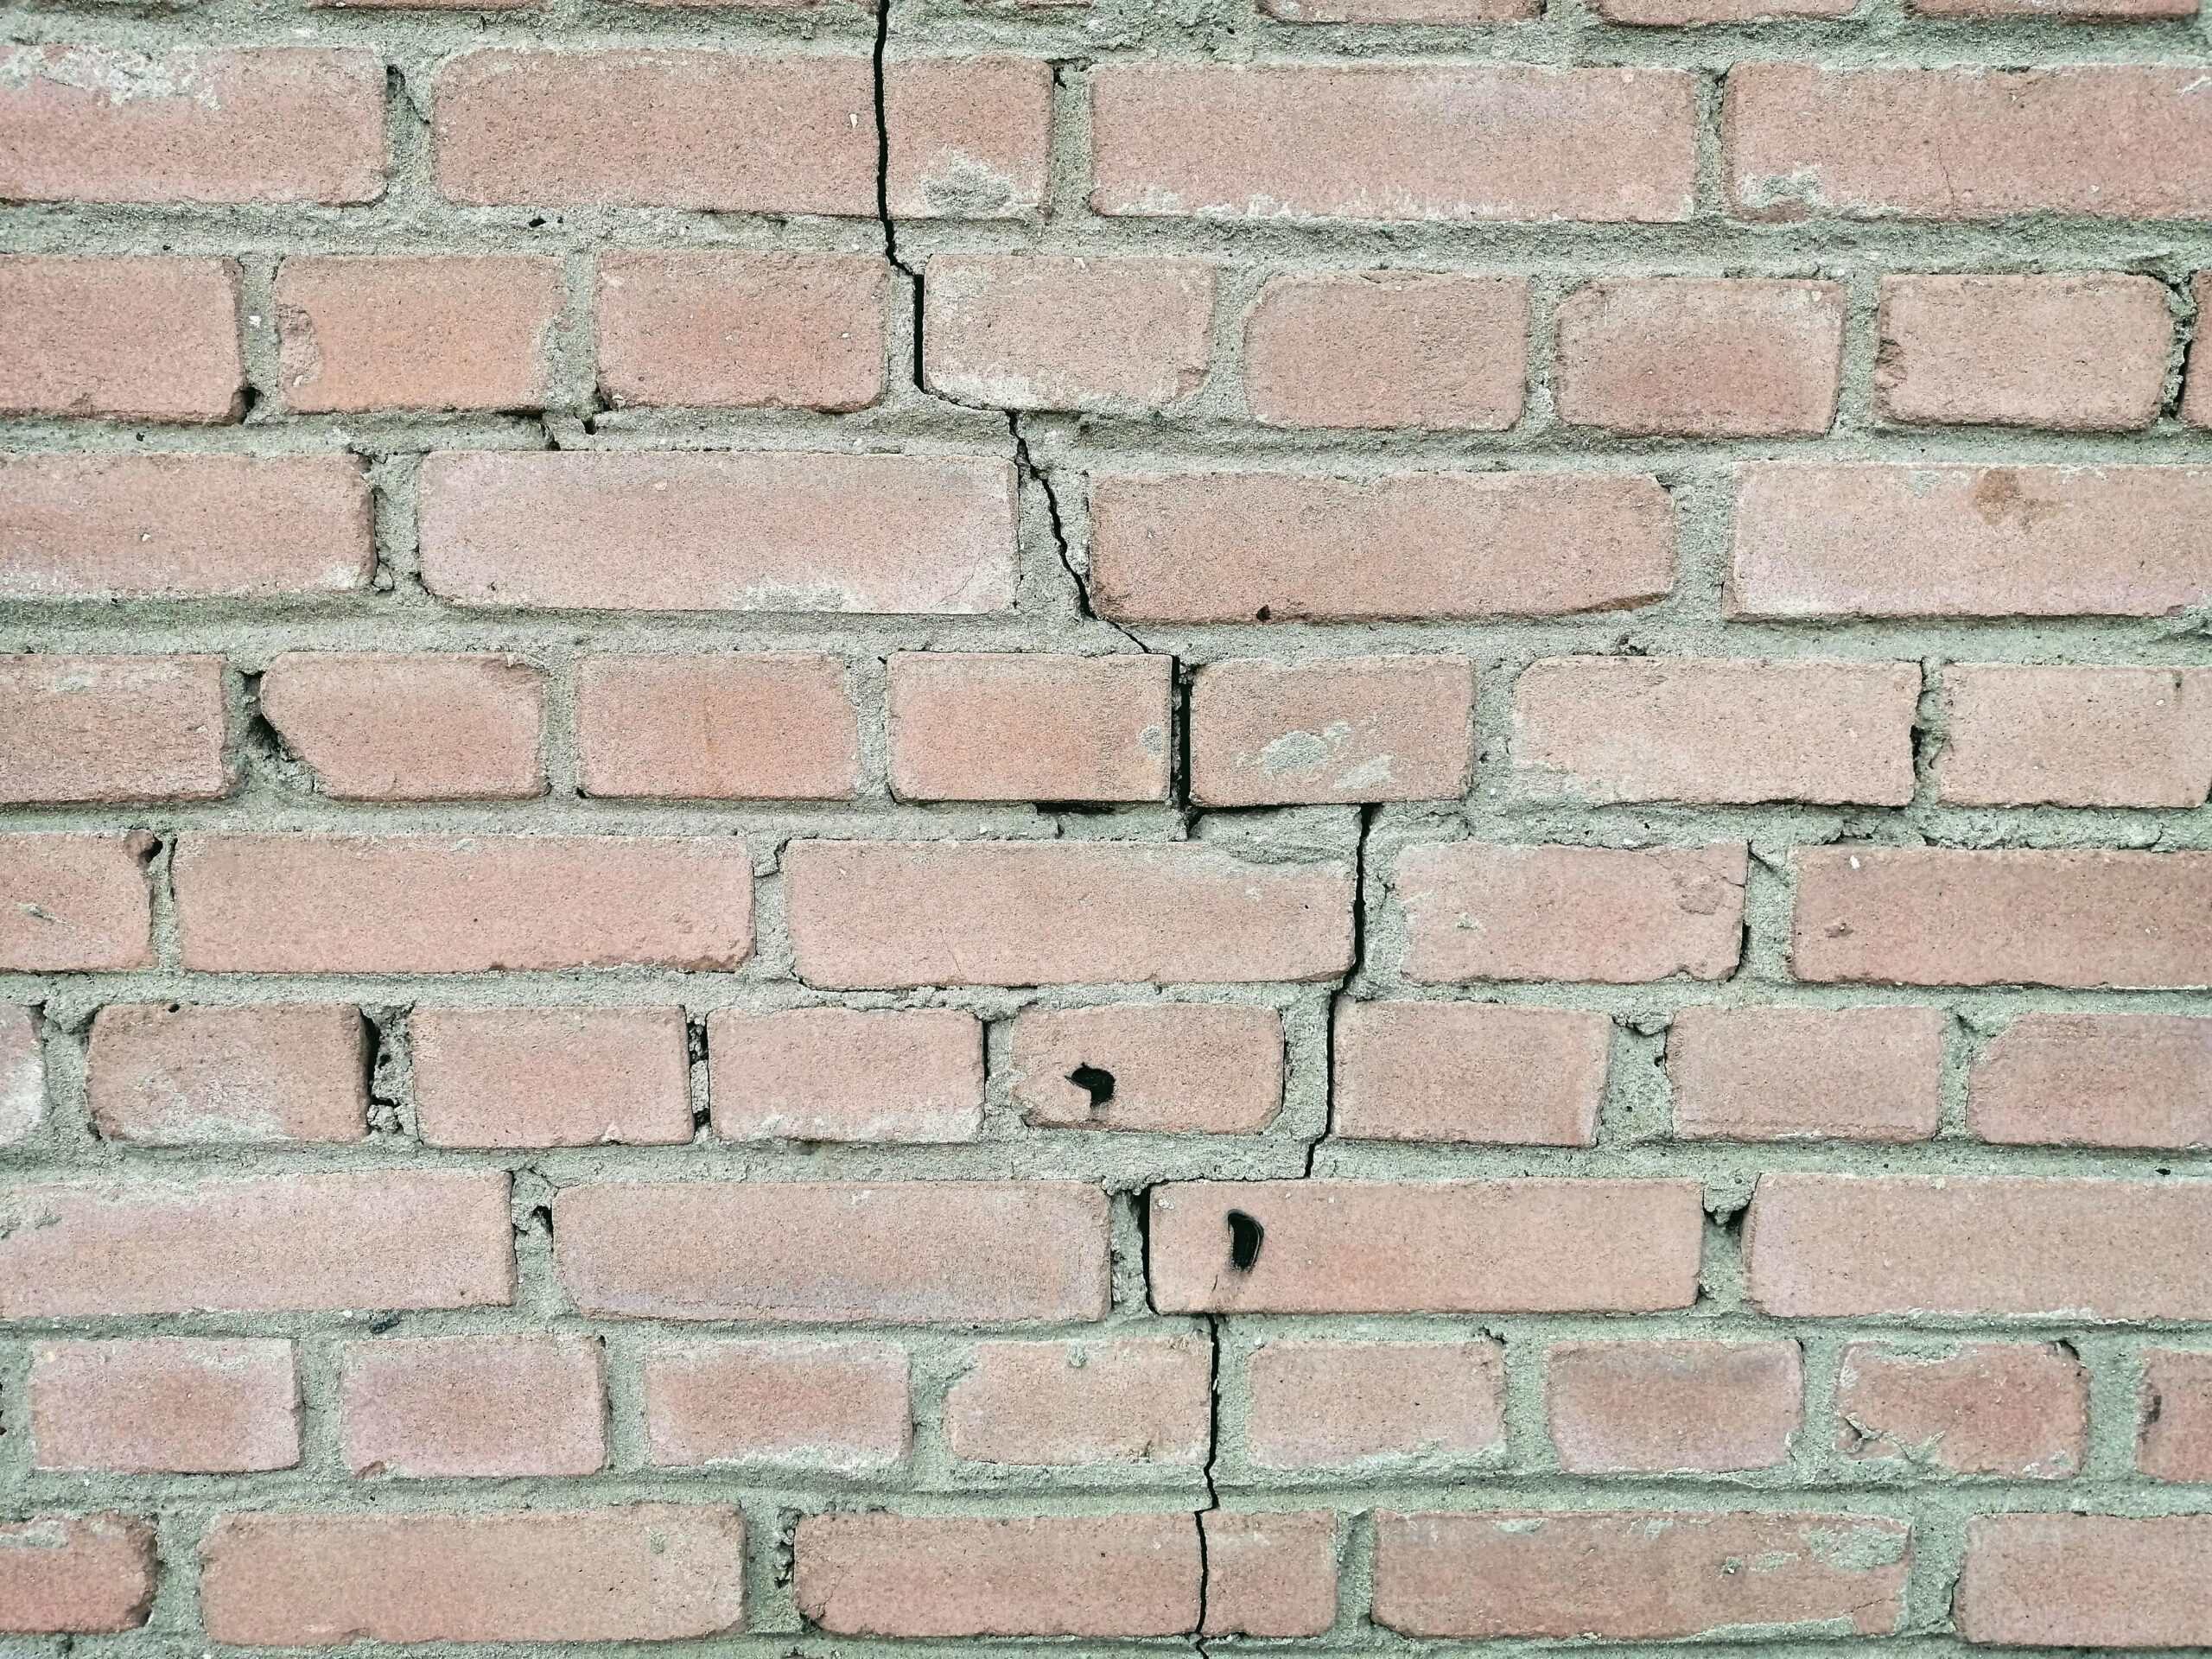
In some basements, especially those with block foundation walls, you might observe the walls are no longer straight vertical planes. Instead, they may be bowing inward, bulging, or showing signs of bending. You might see horizontal cracks running along the mid-height of the wall, or stair-step cracks in brick or block that indicate the wall is starting to give under pressure. This is a serious sign that water-related pressure and soil issues outside are affecting the structural integrity of your basement walls. Even poured concrete walls can crack and lean inward. If your basement walls appear to be curving or buckling, do not ignore this – it’s one of the clearest signs you need immediate repairs to your waterproofing and likely your foundation support.
- Why It Happens: The primary cause of bowing walls is hydrostatic pressure and soil pressure. When the soil outside your foundation gets oversaturated (for example, heavy clay soil soaked with rain), it expands and presses extremely hard against your basement walls. This lateral pressure can slowly push a wall inward. Poor exterior drainage exacerbates this: if water isn’t diverted away, it accumulates and the soil stays heavy and wet. In cold climates, frost heave (water in soil freezing and expanding) can also push on walls. Sometimes poor construction (walls not reinforced adequately) contributes, but usually it’s the water in the soil doing the heavy pushing. Tree roots or adjacent construction could also cause soil movement, but water is often the trigger that makes soil pressurize. Think of your basement like a boat hull against water: if pressure outside gets too high, something’s got to give. Bowing often starts subtly – maybe a hairline horizontal crack that widens, or the top of the wall inching inward – and progressively worsens with each season of freeze/thaw or each heavy rainfall if not addressed.
- Signs to look for: Aside from visible curvature of the wall, check for any horizontal crack roughly mid-way up the wall, as that’s a common failure point when a wall bows. Also look at the junction of the wall and floor; if the wall is sliding inward, it might have a gap at the bottom in severe cases. Another clue can be difficulties above: if a foundation wall bows, it might throw off the level of floors above or make doors and windows stick (when one part of the foundation shifts, it can distort the whole frame of the house). In unfinished basements, this is easier to spot. In finished basements, you might only notice cracks in drywall or doors out of square upstairs, so consider peeking behind any removable panels or in crawlspaces for a look at the foundation if possible.
- Consequences: Bowing walls are structural concerns. If left alone, a bowing wall can eventually crack further and even collapse in extreme cases (this is rare but not impossible during events like flooding or earth movement). Even if collapse never happens, a bowed wall has compromised the stability of your foundation – it’s not fully supporting the load above as it should, and it’s a clear path for water ingress. Every time it rains, water will fill those exterior cracks and gaps, likely leading to more leaking inside. Additionally, a bowed wall can reduce property value significantly; any home inspector will flag it, and it’s costly to fix if you wait too long. It’s much easier and cheaper to reinforce a wall that’s slightly bowed than to rebuild one that has cracked severely.
- What to Do: This is one sign where professional help is almost always needed. Minor bowing (say, less than an inch of inward deflection) might be stabilized with methods like carbon fiber strips epoxied to the wall for reinforcement. More pronounced bowing often requires wall anchors or brace systems. Wall anchors involve inserting metal rods through the wall into the yard soil and anchoring them to pull the wall straight over time. Braces (like steel I-beams) can be fitted floor-to-ceiling inside to prevent further movement. These are not typical DIY projects for the average homeowner, because they involve engineering considerations. However, as a homeowner, you can do a lot to halt the progression: immediately improve the water management around your foundation. Make sure gutters are working and not overflowing next to the house. Extend downspouts, ideally put the end of the spout into a drain pipe that leads far from the house. Ensure the soil against the foundation is not waterlogged (sometimes simply digging a shallow trench filled with gravel a few feet from the house can help pool water away). In some cases, installing an interior drainage system and relieving pressure can prevent further bowing while you schedule the structural fix. Do not attempt quick fixes like just patching the crack with mortar—this doesn’t address the enormous force pushing the wall. A common oversight is homeowners thinking a bit of sealant will do; unfortunately, bowing walls are beyond that point. If you catch it early, you might avoid full excavation; if it’s severe, an exterior excavation and wall rebuild or straightening might be necessary. So act fast. This sign is your foundation shouting for help due to water pressure, and both waterproofing repairs and structural reinforcement will be needed to ensure your home stays sound.
You can learn more about repair options in our Free Foundation Inspection & Repair Guide.
7. High Humidity and Condensation in the Basement
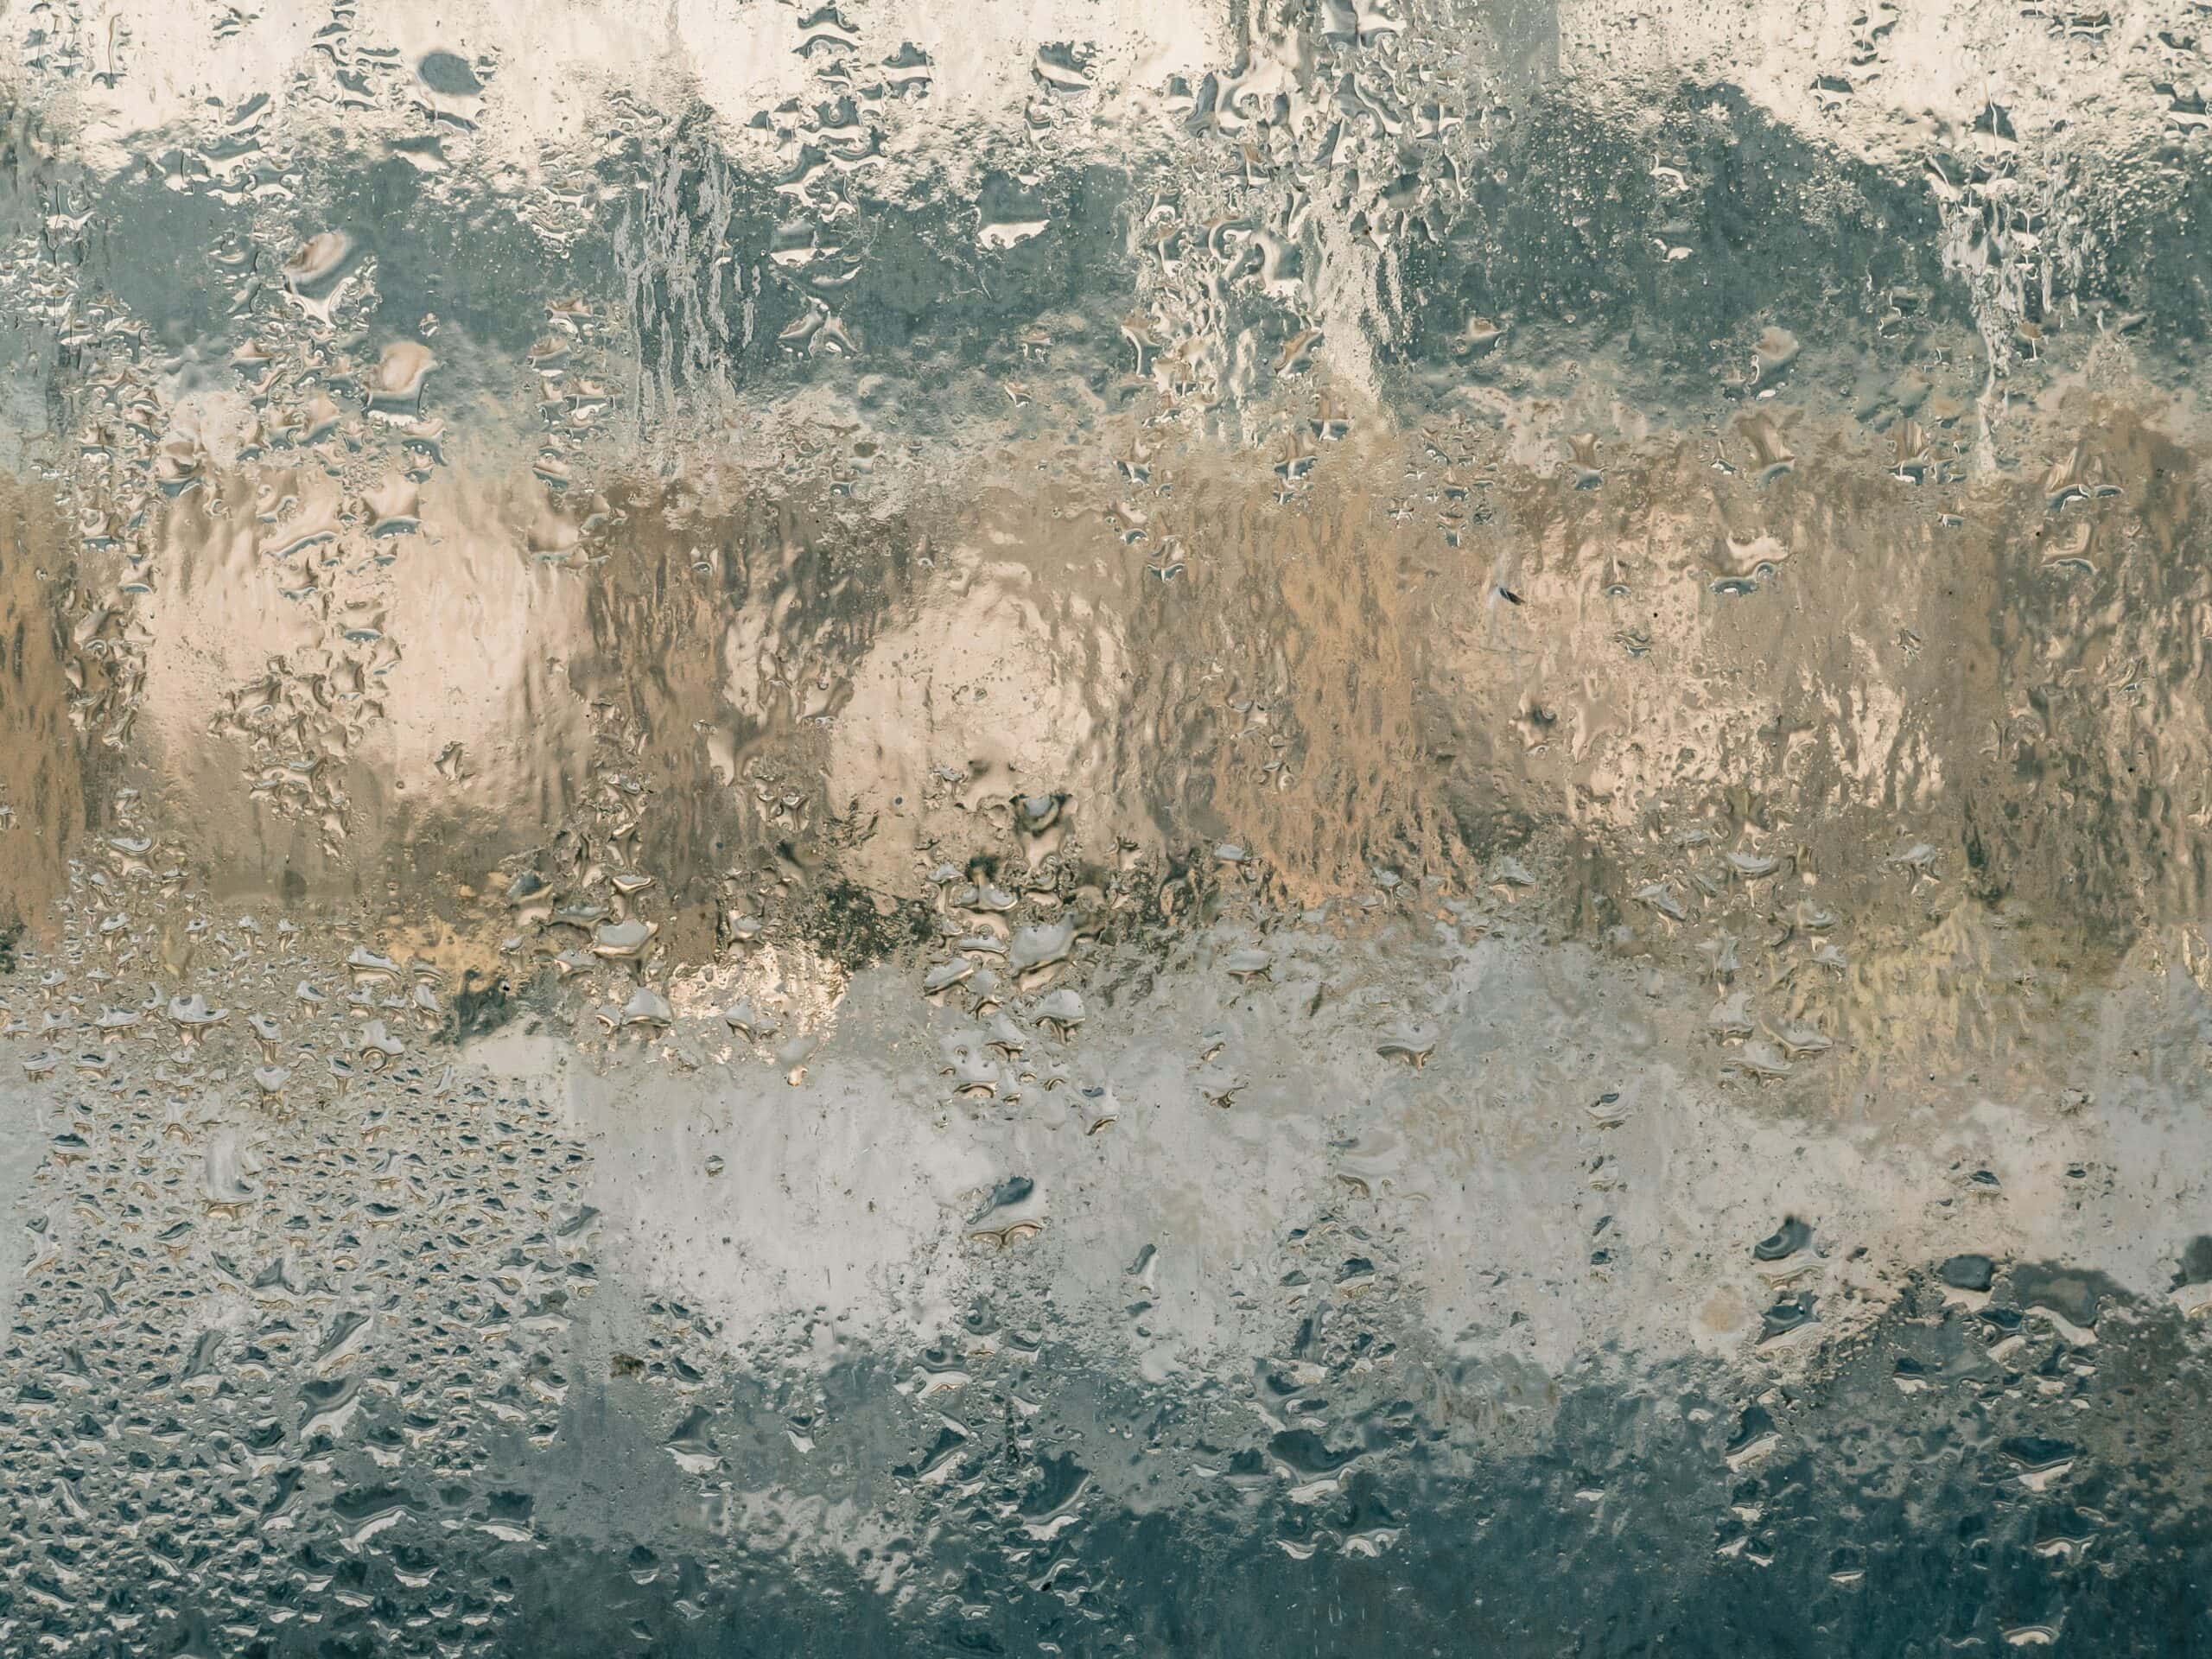
Not every water problem presents as a leak; sometimes it’s present in the air. Excessive humidity in the basement can be a sign that water is evaporating into the space from somewhere, or that dampness is constant. Signs of high humidity include a sticky or clammy feeling when you walk downstairs, condensation on cold surfaces (like metal pipes, water tanks, or windows), and maybe even dripping water from pipes or ductwork due to condensation. If you notice condensation on the walls or floors, that’s a giveaway that the surface is cool and the air is very moist – often because water is coming through the walls or floor. You might also see rust forming on metal objects (tools, shelving, appliances) or hear your dehumidifier running constantly if you have one, filling up rapidly. While a humid basement might seem less dire than standing water, it’s still a sign that your basement isn’t as dry as it should be and that you might need to improve waterproofing or moisture control.
- Why It Happens: Basements are naturally cooler since they’re underground. When warm, moist air meets those cool surfaces, the moisture condenses out – like a cold soda can “sweating” on a hot day. The question is, where is the moisture coming from? In some climates, simply the outdoor air in summer is very humid, and if that air enters the basement (through vents or leaks) it can condense. However, often the humidity is being generated by moisture ingress: water vapor seeping through concrete or small leaks that evaporate. Damp soil around the foundation continuously releases water vapor inward if there’s no proper vapor barrier. Also, if you’ve had water events (like the puddles or wet walls mentioned earlier), even after the visible water is gone, it can evaporate into the air and keep humidity high. Everyday activities can add moisture too (drying clothes in basement, an unvented bathroom or shower, etc.). One overlooked source is the sump pit if you have one – an open sump pit with water can evaporate into the basement (covers are available to mitigate this). If you notice condensation on HVAC ductwork, it might be because uninsulated metal ducts get cold from AC in summer and moisture in the air condenses on them – a sign the air in the basement is very humid.
- Consequences: High humidity might not seem as destructive as liquid water, but it can be. Constant moisture in the air will eventually lead to mold growth on organic materials (cardboard, wood, fabrics) even without direct contact with water. You may find paper and clothing in storage getting a mildew smell. Metal surfaces will slowly corrode (we mentioned rust; you might see it on furnace parts, electrical panels, or other metal objects). Also, dust mites and many pests love humidity above ~60%, which can aggravate allergies. If you ever plan to finish the basement, you absolutely must get humidity under control; otherwise, drywall and flooring will be at risk. From a structural standpoint, humidity alone won’t crack a wall, but it does signal that water is present somewhere feeding that humidity. If unaddressed, it’s like having a slow burn of deterioration – wood will continually absorb moisture and could warp, and your whole house’s indoor air quality suffers (since basement air often rises to the rest of the house via the stack effect).
- What to Do: Invest in a hygrometer (humidity monitor) for your basement to get a reading. If it’s consistently above 50-60%, you have a humidity issue to solve. The immediate remedy is to use dehumidifiers. In fact, many basements benefit from a dedicated dehumidifier especially in spring and summer. Make sure to get one sized for your square footage and ideally with a drain hose so it can run continuously. Aim to keep humidity around 45-50%. This will greatly reduce condensation issues. Next, reduce sources of moisture: cover the sump pit, fix any plumbing leaks, ensure dryer vents or bathroom vents actually go outside (not just dumping humid air into the basement). Improve ventilation if your basement is shut tight – sometimes adding a ventilation fan or connecting the basement to your HVAC system can help exchange moist air out. However, be cautious: simply pumping outdoor air in during a humid season can make it worse (you might only want to ventilate during dry weather). On the waterproofing side, seal any exposed concrete with a vapor barrier paint or install plastic sheeting on walls before finishing to block vapor. If the moisture is seeping from the floor (you see condensation on floor or floor feels damp), consider a floor sealant or even an epoxy floor coating which can act as a moisture barrier. Also, insulating cold-water pipes can prevent them from “sweating” in humid air. Ultimately, if high humidity persists despite these measures, re-check for hidden water entry points. Sometimes it’s a sign that, for example, your foundation footing drains aren’t working and water is sitting just outside the wall, constantly raising humidity. Moisture in the air is still moisture, so take it seriously. With diligence, a basement can be as dry and comfortable as any other part of the house.
8. Rust or Rot on Basement Fixtures
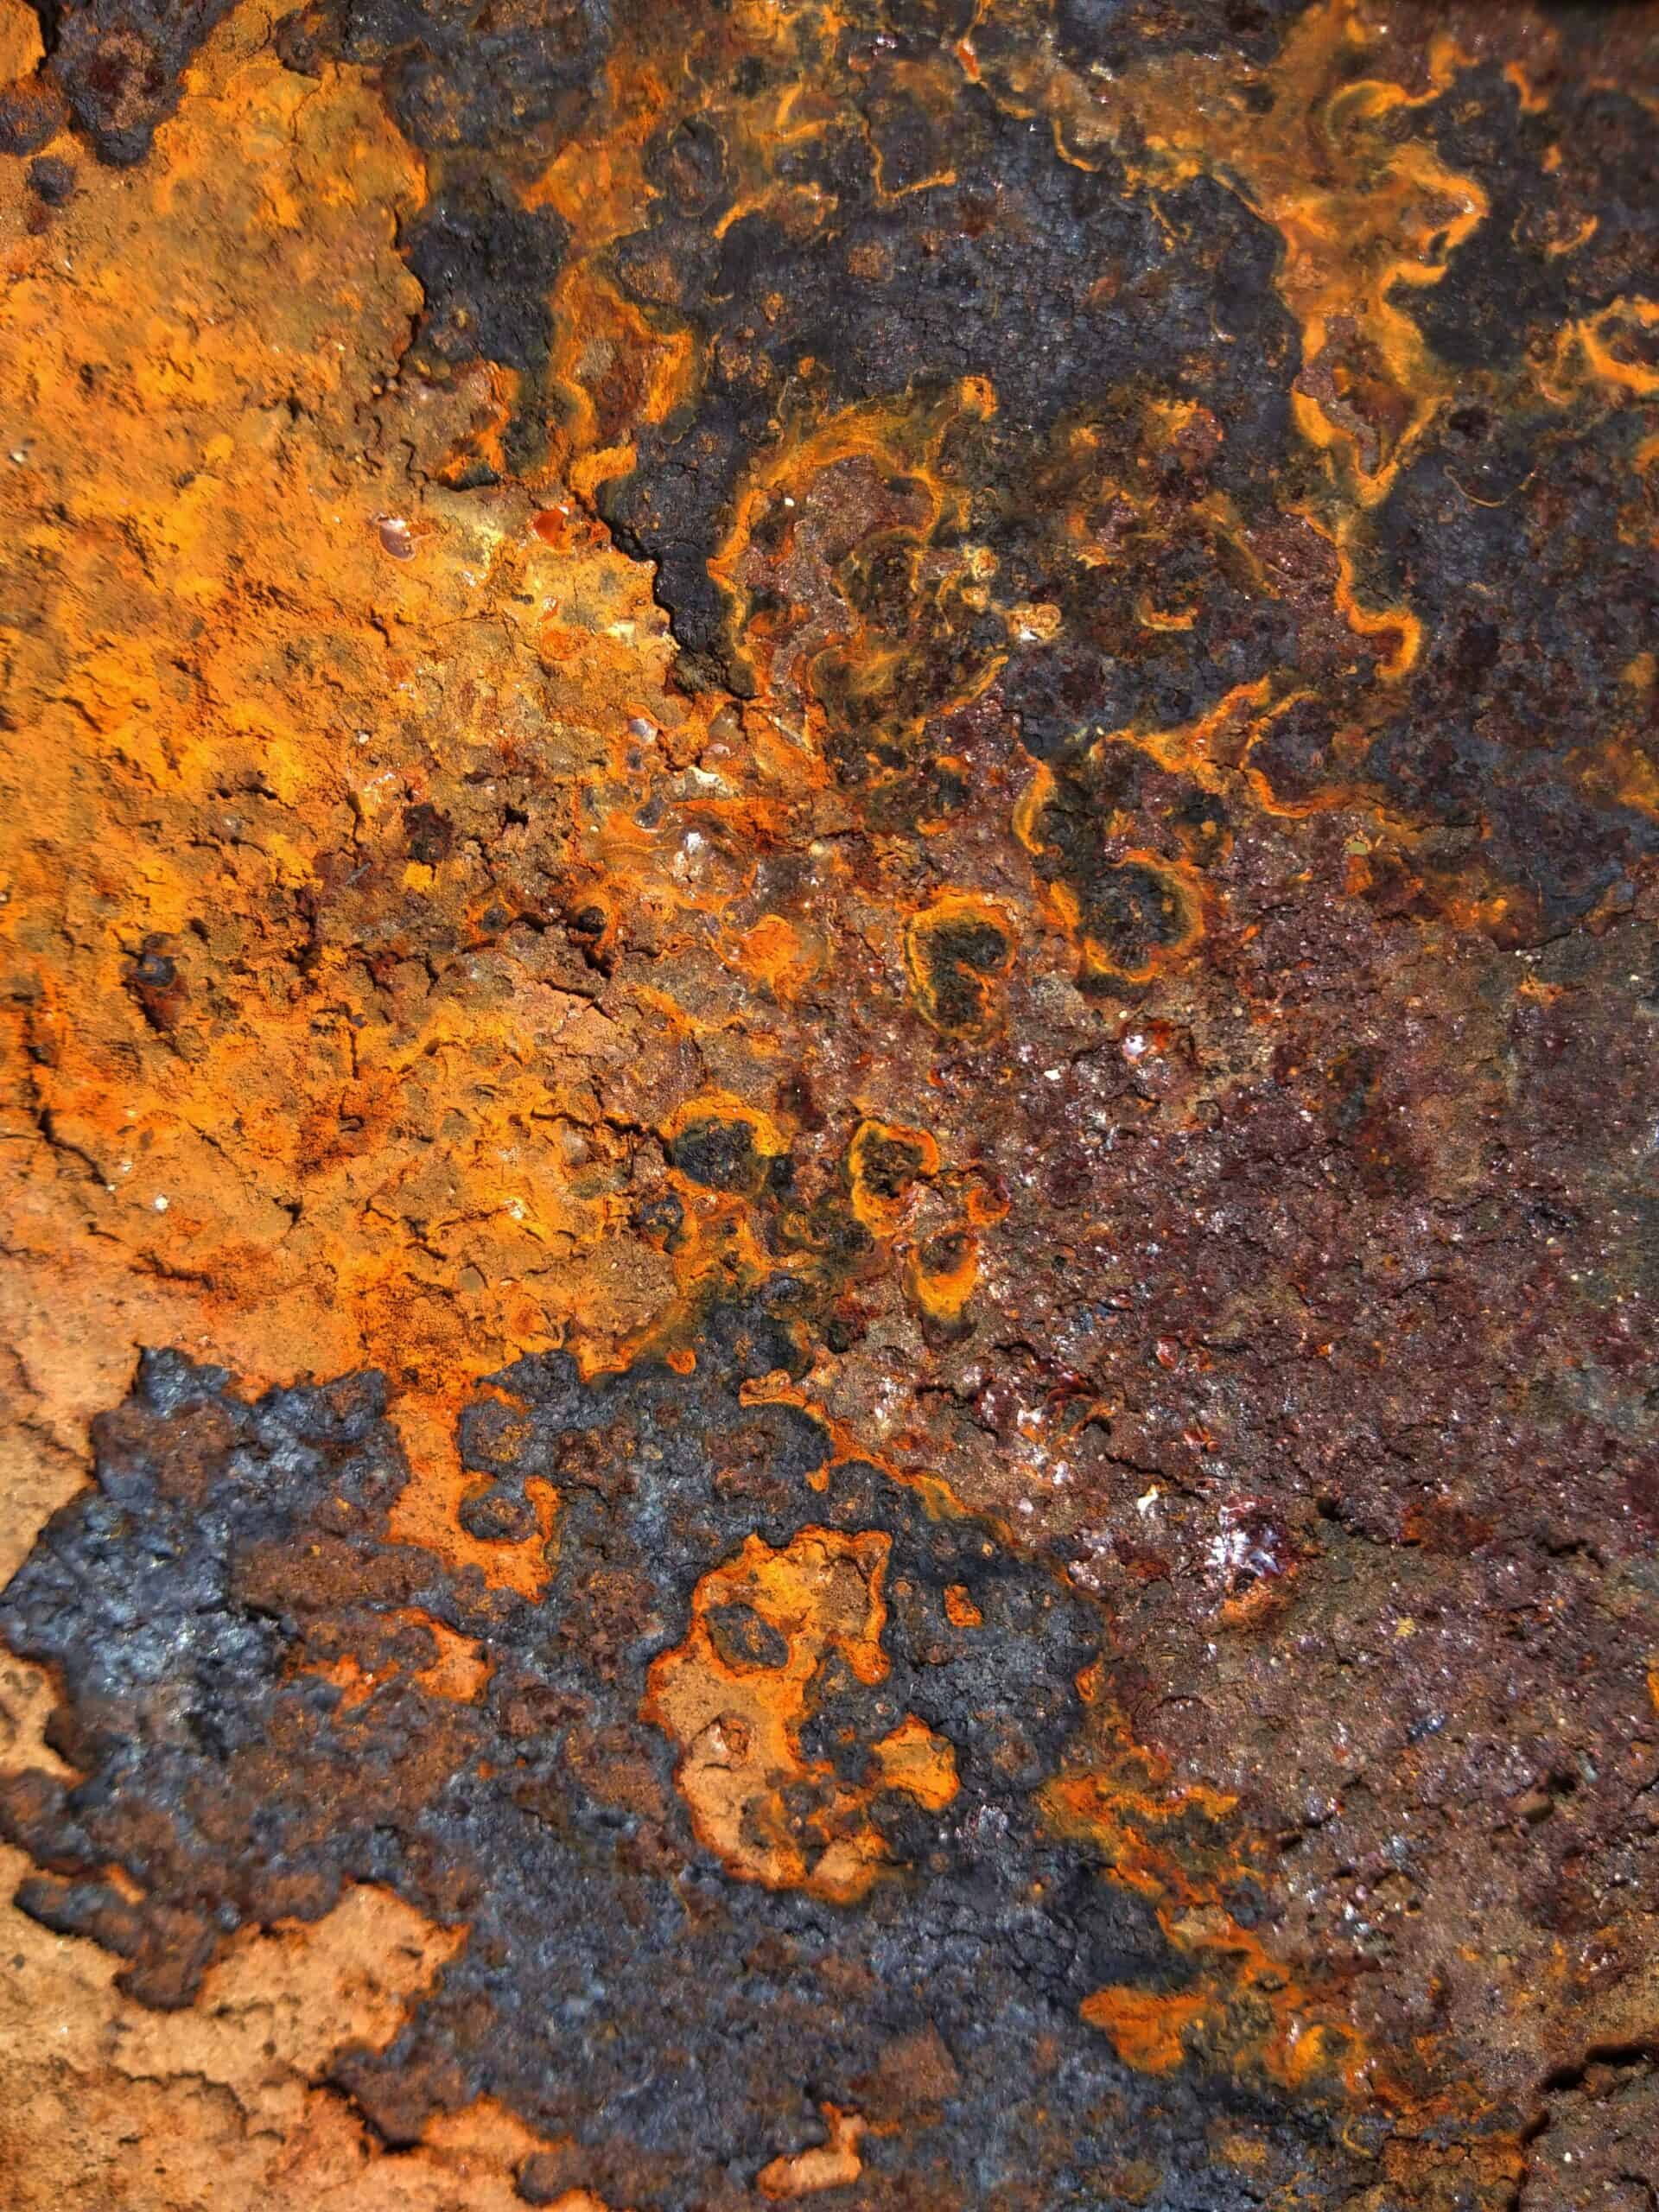
Another subtle sign of a moisture problem is noticing rust on metal or rot on wood in your basement. For instance, you might see that metal support columns, beams, appliances, or stored tools in the basement are developing rust. Nails in exposed wood might show rust, or you find the bottom of a metal shelving unit has started to corrode. If your basement has any wooden structural elements (like the wooden frames of walls, or wood stairs), check if they show signs of wood rot or damp, spongy texture. Rust and rot don’t happen in a dry environment – they’re telltale signs that dampness has been persistent.
- Why It Happens: Rusting is a chemical reaction that occurs when iron or steel meets water (or very humid air) and oxygen. So if things are rusting, there’s been water or heavy moisture in contact with them. It could be direct contact, like minor flooding that wet the metal, or just moisture in the air condensing on the metal over and over (as with constant high humidity). For example, rust on the base of your water heater or furnace could mean occasionally the basement floor gets wet there, or the air is moist enough to corrode it. Rust on nails or screws in the walls suggests those areas have been damp (possibly from condensation or minor leaks inside the wall). Wood rot is caused by wood-decaying fungi that only grow when wood moisture content stays high (generally over 20%). If you find wood rot on, say, the bottom of a wooden stair or at the base of wooden drywall framing, that wood likely wicked up water from a damp floor or got wet during a leak and never fully dried. Homeowner oversight: Many people don’t inspect their unfinished basement areas often, so rust can progress for a while unnoticed. That old spare fridge or fuse box getting rusty in the corner might not catch your eye daily, but it’s a clue the environment is too damp.
- Consequences: Rust can weaken metal over time. While surface rust on some tools is just a nuisance, rust on structural metal (like a support jack post or steel I-beam) can eventually reduce its load-bearing ability if severe (though that would take a long time in most cases). More immediately, rust indicates that other damage (like mold) might also be happening in parallel, since moisture that rusts metal will also be affecting wood and drywall. Wood rot is more directly destructive: if a critical wooden post or a sill plate at the bottom of the wall rots, it can compromise that structure’s integrity. Rotten wood also attracts certain insects and can spread if the conditions remain wet. Plus, fixing rot often means cutting out and replacing sections of wood, which can be an involved repair. From an economic perspective, appliances or tools that rust may fail sooner (think of a rusted furnace or washer in a damp basement – they likely won’t last as long as they should). And like other signs, rust/rot often precede visible mold or leaks; they’re like the early warning system that moisture levels have been high consistently.
- What to Do: If you spot unexpected rust, investigate the moisture source. For example, rust at the bottom of metal objects could mean occasional floor wetness – check if water is seeping in during rain along the floor edges. Rust on upper parts (like on nails higher on the wall) might mean high humidity or condensation. Improve the environment: use dehumidifiers and increase air circulation to help dry things out. For any wood showing rot, you’ll need to dry that area and likely replace the wood. Small spots of surface mold or rot on wood can be treated with a fungicide or a mixture of bleach and water, but that’s a temporary fix if the wood keeps getting wet. Trace the moisture: is it coming from a nearby crack or maybe a plumbing drip? Sometimes insulation or vapor barrier might be missing in that spot leading to condensation. Once you address the moisture, consider coating metal columns or tools with a rust-inhibiting paint or keep them off the floor (e.g., put a wooden block under metal legs so they don’t touch potentially damp concrete). For wood, after fixing the source, you can also paint wood with mold-resistant sealant. Proactive tip: many homeowners put their basement appliances (water heater, furnace, washer/dryer) on small platforms or blocks – this is partly to keep them safe from minor flooding and also to allow air circulation to prevent rust. In summary, treat rust and rot as symptoms – cure the disease (the moisture) and then treat the symptoms (clean the rust, repair the wood). This will preserve your home’s infrastructure and contents much better in the long run.
9. Unwanted Pests and Insects in the Basement
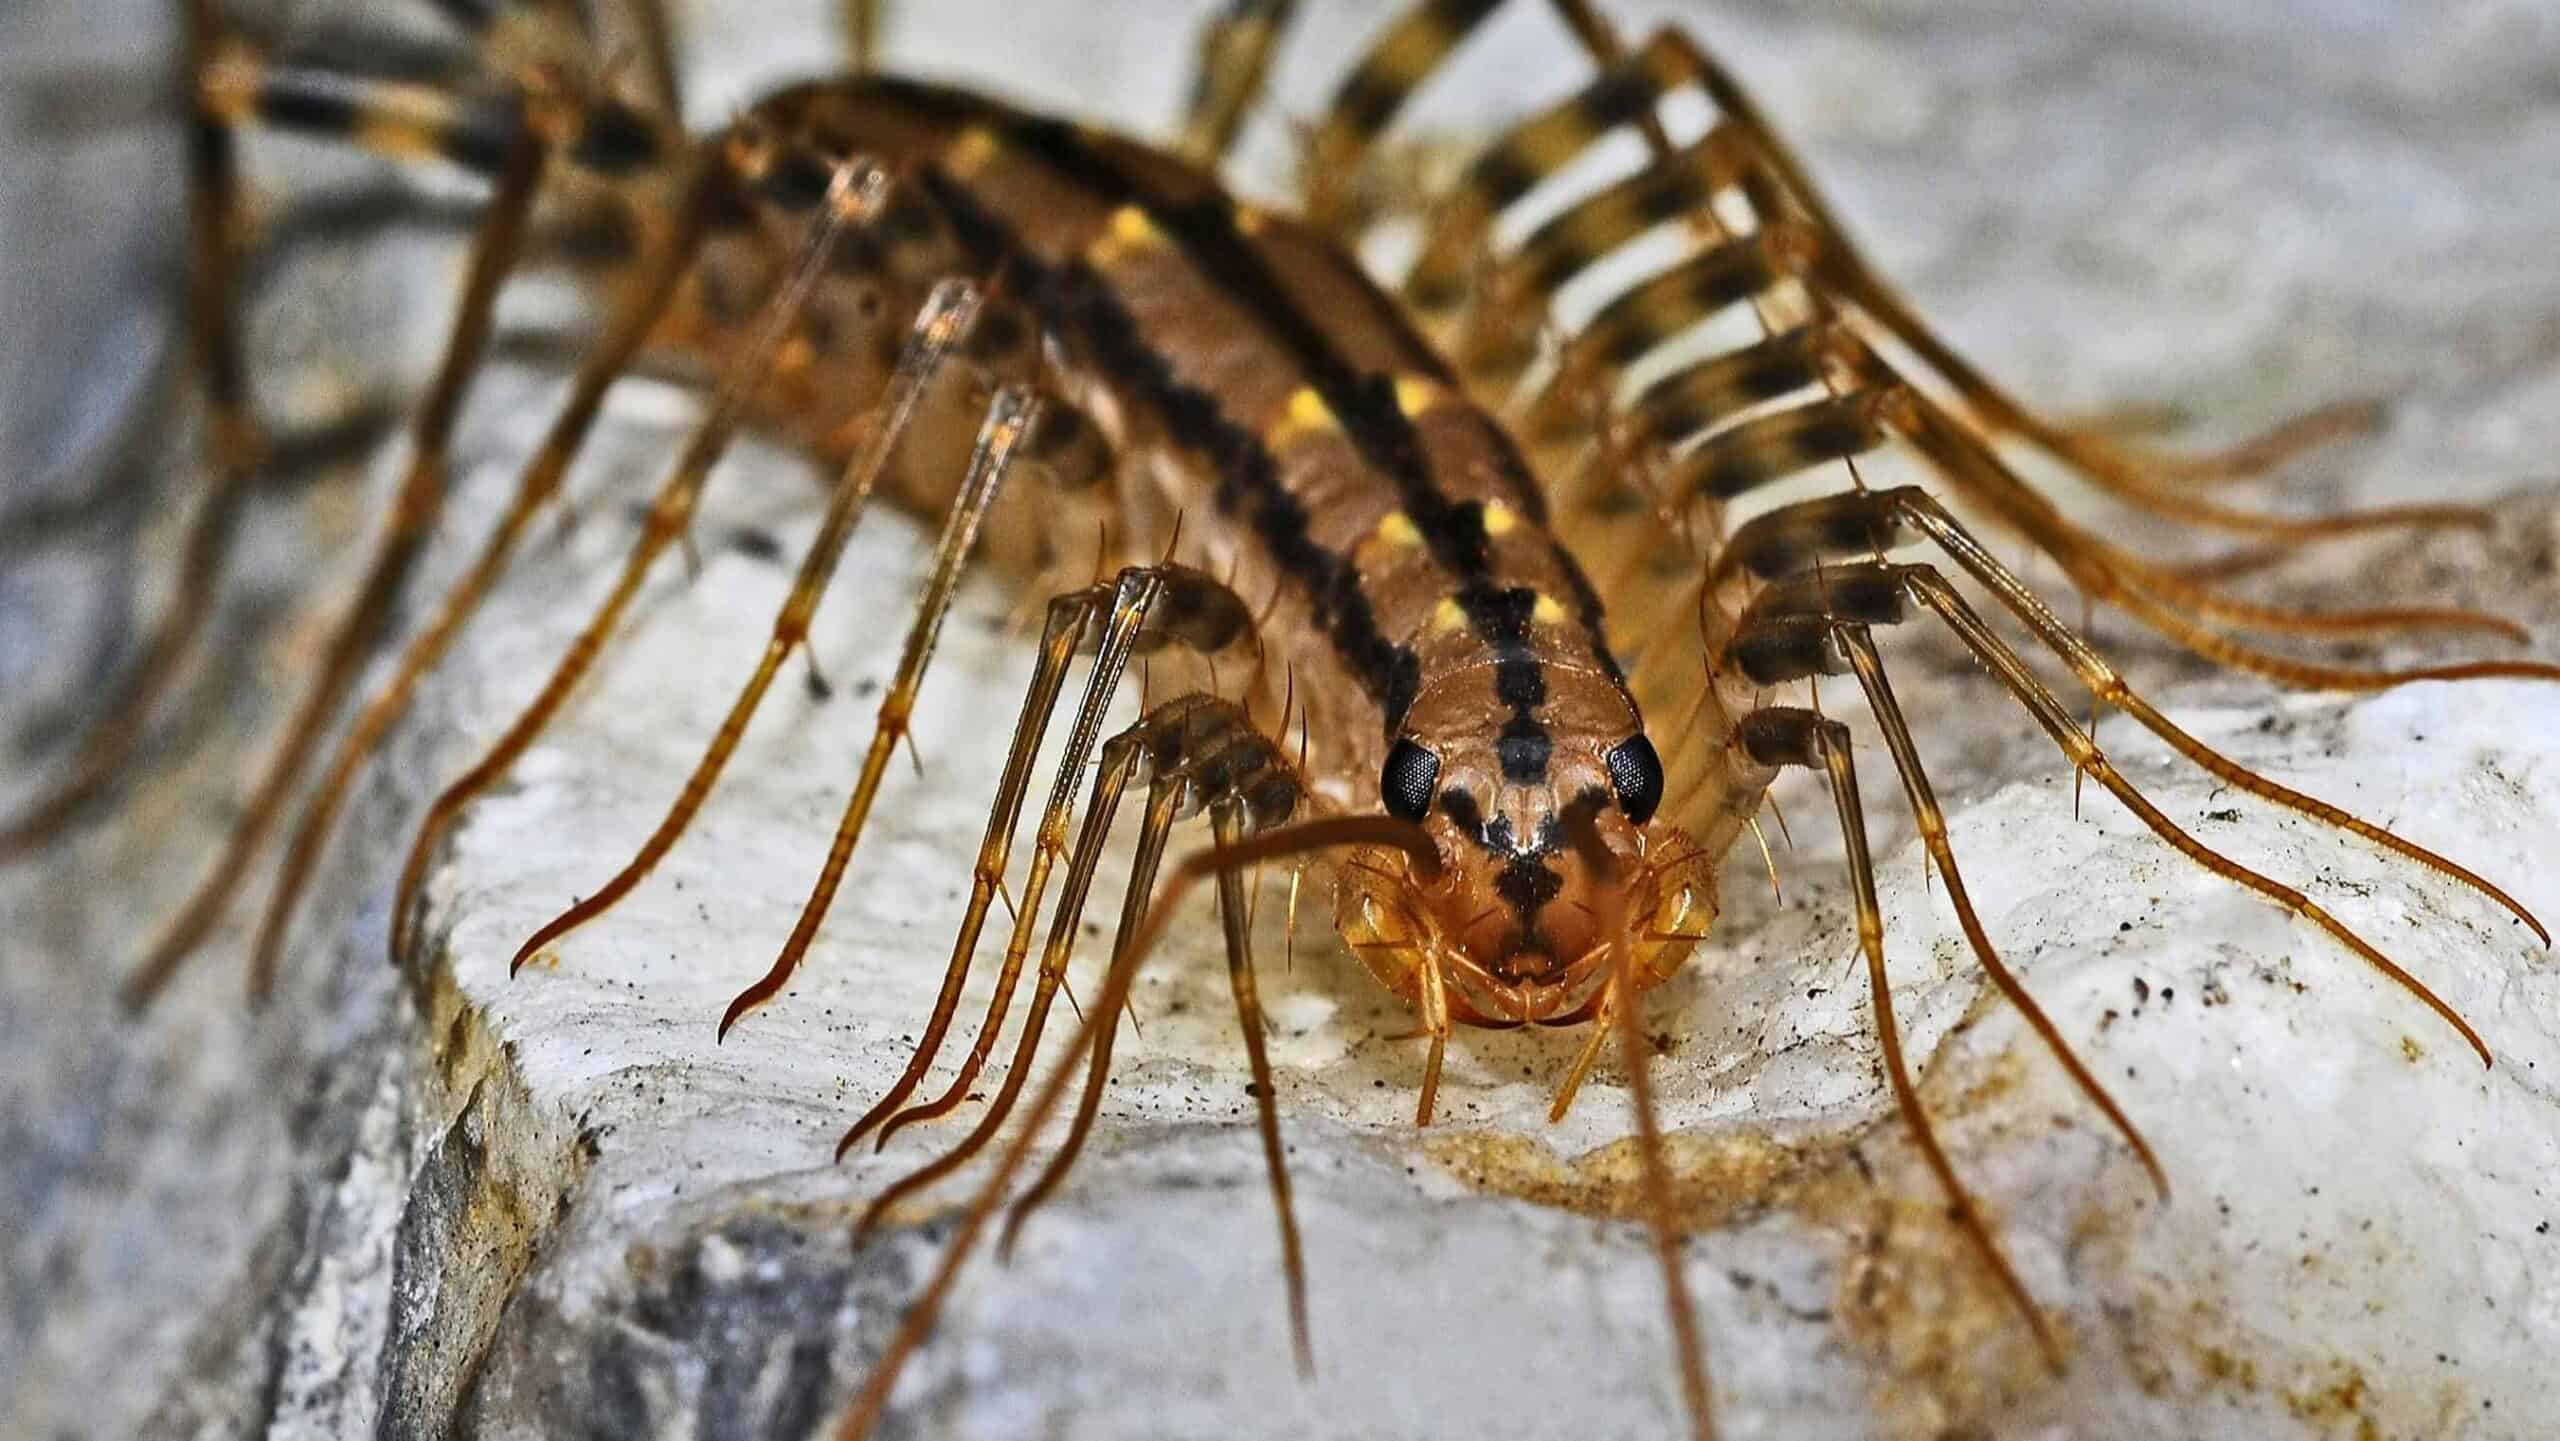
Believe it or not, a sudden influx of bugs in your basement can be related to moisture problems. Many insects and pests are attracted to dark, damp environments. If you are regularly encountering pillbugs (roly-polies), centipedes, silverfish, or spiders in your basement, it could be because your basement has the damp conditions they love. While this sign is a bit more indirect than a water stain, it’s still worth noting as a possible indicator of moisture issues requiring attention.
What to Do: If you notice frequent bugs, take a dual approach: pest control and moisture control. Yes, get rid of the creepy crawlies (clean up clutter where they hide, use traps or call pest control if needed), but simultaneously inspect for moisture. Is there a particular corner they seem concentrated in? Check that area for leaks, dampness, or mold. Ensure no wood or cardboard is directly on the basement floor – these can absorb moisture and attract pests, so use plastic or metal shelves for storage and keep items elevated. Run a dehumidifier to make the environment less hospitable to bugs (most thrive above 60-70% humidity). Seal any obvious cracks or gaps where pests might be entering from outside (some could be coming directly through cracks in the foundation or gaps in windows – sealing those will help with both pest entry and water entry). This is also a good time to inspect your basement windows or vents – if a window well is filling with water or a vent isn’t properly covered, you could have both water and insects coming in. By drying out the basement and waterproofing entry points, you not only solve the bug problem but also the moisture problem that likely underpins it. In a fully dry basement, you’ll notice far fewer insects taking up residence.If your basement smells musty or you’ve spotted damp walls after a storm, your home might be warning you of a waterproofing problem. Recognizing the signs your basement needs waterproofing early can save thousands in structural repairs, mold removal, and foundation restoration.
Why Moisture Attracts Pests: Bugs need water to survive, and some (like silverfish, centipedes, and cockroaches) absolutely thrive in high-humidity, moist areas. For instance, silverfish often live in damp paper or cardboard, centipedes seek out moist corners to hunt other insects, and mold mites will appear if there’s mold growth. If your basement has leaks or is consistently humid, it’s essentially inviting pests to settle in. Termites and carpenter ants, more serious pests, are also drawn to wet wood – a water-leak-damaged wooden beam is a feast for them. Homeowners might not connect a bug sighting to water, often assuming “it’s just a basement, bugs happen,” but an increase in moisture-loving insects is often a symptom of an environment that’s too damp.
Consequences: Aside from the “ew” factor, pests can cause damage and indicate underlying issues. Termites or carpenter ants can chew through wood framing (worsening structural issues if wood is already weakened by moisture). Other bugs like cockroaches or mold mites can affect indoor air quality and cause allergies for occupants. And obviously, an infestation can be a pain (spiders and centipedes scare some people, and some spiders like the brown recluse – which loves quiet, damp basements – are venomous). If you only treat the symptom by spraying pesticides or calling an exterminator, the relief will be temporary unless you also eliminate the damp habitat that’s attracting them. In a sense, the bugs are doing you a favor by alerting you to a hidden moisture problem before bigger damage happens.
This guide walks you through the most common basement moisture warning signs, how to confirm water intrusion, and when to call in professionals before damage spreads.
FAQ: Basement Waterproofing Questions
How do I know if my basement needs waterproofing?
If you see water stains, mold, or smell mustiness after rain, waterproofing is likely needed. Efflorescence, peeling paint, or small cracks are early warnings too.
What happens if I don’t waterproof my basement?
Moisture can lead to foundation damage, mold growth, and poor air quality, which may impact your family’s health.
How much does basement waterproofing cost?
According to HomeAdvisor, the average cost ranges from $2,000 to $7,000 depending on the system and extent of damage.
Can I waterproof my basement myself?
Minor cracks or humidity can be managed with sealants and dehumidifiers, but major seepage or wall cracks require professional solutions.my basement myself?
Next Steps: Preventive Measures and When to Seek Help
Recognizing these common signs of basement waterproofing issues is the first step. The next step is taking action to fix the underlying problems and prevent further damage. Here are some general preventive measures and guidelines on what to tackle yourself versus when to call in professionals:
- Manage External Water: The majority of basement water problems start outside. Ensure your gutters are clean and downspouts direct water far from your foundation (use downspout extensions or pipe it away). Check that the soil around your home slopes downward away for at least 6-8 feet. Consider installing French drains or improving yard drainage if water tends to pool around your house. Good exterior waterproofing (like maintaining intact foundation coatings and installing footing drains) is key to a dry basement. Many “early signs of foundation water issues” can be headed off entirely by controlling water before it reaches your foundation.
- Interior Moisture Control: Use dehumidifiers and adequate ventilation in the basement, especially in warm humid months. If your basement is prone to humidity, this is not optional – it’s a must for mold prevention and overall comfort. Also, avoid carpeting directly on concrete floors in moisture-prone areas; opt for vapor barriers under wood or carpeted flooring in basements. If you have a sump pump, check it regularly (pour water in the pit to ensure it kicks on) and service it per manufacturer guidance. A failed sump can turn a minor issue into a major flood.
- Fix Small Issues Promptly: If you find a small crack, a bit of efflorescence, or a tiny drip from a basement window, address it before it grows. Fill cracks with appropriate sealant or epoxy. Reseal around windows and pipes that penetrate the basement wall (sometimes water sneaks in via gaps in window frames or where cables/pipes enter). Touch up peeling paint with a waterproof primer after you’ve confirmed the area is dry. These little maintenance tasks can stop a problem in its tracks. Don’t postpone minor repairs, thinking you’ll get to them later – water issues almost always get worse, not better.
- Know Your Limits – Call Professionals When Needed: Some problems, like significant foundation cracks, bowing walls, or chronic flooding, are beyond DIY. Basement waterproofing and foundation repair specialists have tools and techniques (from exterior excavation and waterproof membrane installation to interior drain systems, sump pump setups, and structural reinforcements like wall anchors or piering) to solve big issues. If you’re dealing with widespread mold, consider a professional mold remediation service to ensure it’s thoroughly and safely removed. When consulting a professional, ask for a thorough inspection – often the visible problem (e.g., a crack) might have an underlying cause (e.g., poor drainage or a sinking footing) that they can identify and address comprehensively. Hiring reputable contractors is important: look for companies with good reviews and proper licenses, and who will explain the issues in detail (educating you, not just pushing a sale). You might even get multiple opinions for expensive jobs. While professional work can be costly, it’s an investment in your home’s longevity and your peace of mind.
- Maintain and Monitor: After you’ve done repairs or waterproofing improvements, maintain them. Keep that dehumidifier running as needed, test your sump pump, clean the gutters every season, and so on. Make it a habit to walk through your basement monthly and look for any of the signs we discussed: sniff for musty odor, scan for new cracks or spots on walls, check corner areas for dampness, etc. Early detection the next time around will ensure you tackle any future issues while they’re small.
A dry basement is the result of vigilance and proper waterproofing. By staying alert to these common signs – from that strange musty smell to the hairline crack that wasn’t there before – you can catch problems early. Basement water damage repair is far more manageable when it’s just sealing a small leak or adding a dehumidifier, versus dealing with a collapsed wall or a basement full of moldy belongings. Use the educational insights above to regularly inspect your basement. Empowered with this knowledge, you can take timely action, whether it’s a DIY fix or calling in experts for bigger issues. In doing so, you’ll protect your home’s foundation, maintain a healthy living environment, and save money by preventing extensive damage. Remember: when it comes to waterproofing, an ounce of prevention (or early repair) is worth a pound of cure. Keep your basement dry, and it will continue to serve as a safe, usable space for years to come.
Spotting the signs your basement needs waterproofing early can prevent extensive and expensive repairs later. From peeling paint to musty smells, every symptom tells you water is finding its way in.
Don’t ignore these warnings — inspect your foundation, improve drainage, and invest in professional basement waterproofing if needed. Your home’s stability and your family’s health depend on it.


Pingback: Best DIY Basement Flooring Options for Every Budget
Pingback: Best Paint for Concrete Basement Walls (Dry, Mold-Resistant)
Pingback: How to Fix a Crumbling Concrete Basement Floor